


")

Afrikaans Albanian Amharic Arabic Armenian Azerbaijani Basque Belarusian Bengali Bosnian Bulgarian Catalan Cebuano China Corsican Croatian Czech Danish Dutch English Esperanto Estonian Finnish French Frisian Galician Georgian German Greek Gujarati Haitian Creole hausa hawaiian Hebrew Hindi Miao Hungarian Icelandic igbo Indonesian irish Italian Japanese Javanese Kannada kazakh Khmer Rwandese Korean Kurdish Kyrgyz Lao Latin Latvian Lithuanian Luxembourgish Macedonian Malgashi Malay Malayalam Maltese Maori Marathi Mongolian Myanmar Nepali Norwegian Norwegian Occitan Pashto Persian Polish Portuguese Punjabi Romanian Russian Samoan Scottish Gaelic Serbian Sesotho Shona Sindhi Sinhala Slovak Slovenian Somali Spanish Sundanese Swahili Swedish Tagalog Tajik Tamil Tatar Telugu Thai Turkish Turkmen Ukrainian Urdu Uighur Uzbek Vietnamese Welsh Bantu Yiddish Yoruba Zulu
Feb . 19, 2025 01:21
Back to list
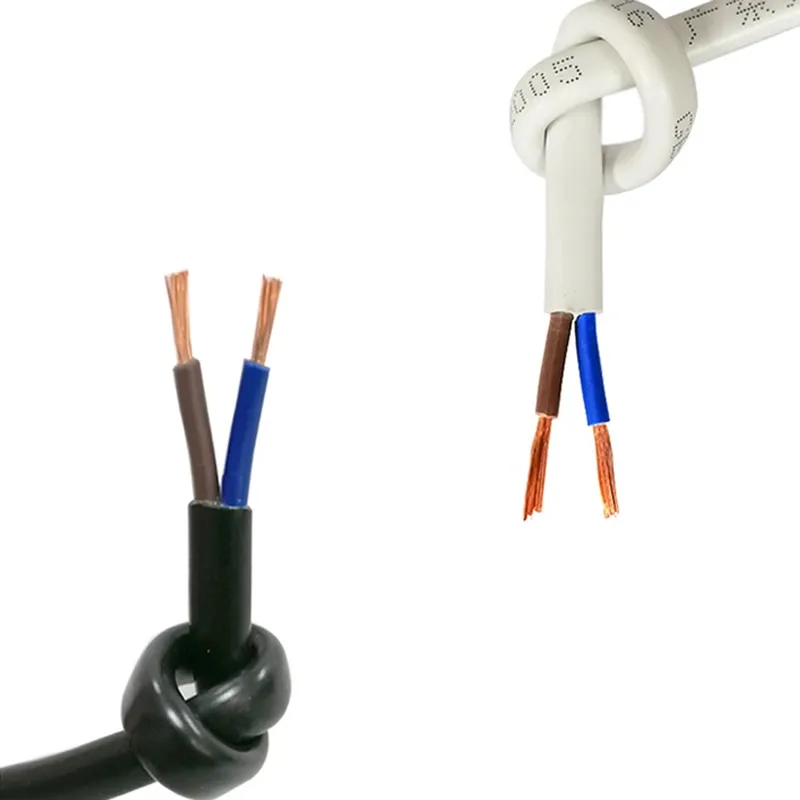
wholesale connecting armoured cable to socket
Connecting armored cable to a socket requires a level of expertise and careful planning to ensure both safety and efficiency. Drawing from years of experience in electrical installations, this comprehensive guide is designed to provide you with expert advice, authoritative insights, and reliable steps to achieve the best results with armored cable connections.
Procedure for Connecting Armored Cable to Socket 1. Power Off Start by turning off the power at the circuit breaker. Double-check with a multimeter to ensure there is no voltage present at the socket or wires. 2. Measure and Cut Determine the length of armored cable required for your installation. Using a cable cutter, cut the cable to the desired length. 3. Strip Armor Use an armor stripping tool to remove a portion of the metal sheathing without damaging the inner conductors. This typically involves cutting the armor in a helical pattern and removing it to expose the wires. 4. Strip Wires With a wire stripper, carefully strip the insulation from the ends of the wires, making sure to expose enough wire to make a secure connection, typically ½ inch. 5. Connect to Box Feed the exposed wires through a suitable connector, such as a BX connector, and fasten it to an electric box. Ensure it’s tightly secured to prevent any movement and maintain a proper ground. 6. Wiring the Socket Connect the stripped wires to the corresponding terminals on the socket. Typically, the black wire connects to the brass terminal (hot), the white wire to the silver terminal (neutral), and the green or bare wire to the ground terminal. 7. Secure and Close Once connections are made, carefully place the socket back into its box and screw it securely in place. Ensure no wires are pinched or exposed. 8. Final Check Before restoring power, double-check all connections for tightness and safety. Use a multimeter to test the continuity and proper voltage. 9. Restore Power Once all checks are satisfactory, restore power at the circuit breaker and test the socket with a known load to ensure it’s functioning correctly. Expert Insights and Considerations The use of armored cable offers numerous benefits, but it also presents some challenges. It's imperative to ensure the armor is always grounded to prevent any chance of electrical faults. Consulting with or hiring a licensed electrician for installations near sensitive equipment or in complex circuits can enhance not only the safety but also the efficacy of your electrical system. Moreover, the importance of adherence to the National Electrical Code (NEC) cannot be overstated, as it provides the regulatory framework for safe electrical installations. In conclusion, connecting armored cable to a socket involves a series of precise steps, underpinned by expertise, rigorous safety practices, and a comprehensive understanding of the electrical environment. Following these guidelines will facilitate a safe and reliable installation, backed by expert knowledge and industry authority.

Procedure for Connecting Armored Cable to Socket 1. Power Off Start by turning off the power at the circuit breaker. Double-check with a multimeter to ensure there is no voltage present at the socket or wires. 2. Measure and Cut Determine the length of armored cable required for your installation. Using a cable cutter, cut the cable to the desired length. 3. Strip Armor Use an armor stripping tool to remove a portion of the metal sheathing without damaging the inner conductors. This typically involves cutting the armor in a helical pattern and removing it to expose the wires. 4. Strip Wires With a wire stripper, carefully strip the insulation from the ends of the wires, making sure to expose enough wire to make a secure connection, typically ½ inch. 5. Connect to Box Feed the exposed wires through a suitable connector, such as a BX connector, and fasten it to an electric box. Ensure it’s tightly secured to prevent any movement and maintain a proper ground. 6. Wiring the Socket Connect the stripped wires to the corresponding terminals on the socket. Typically, the black wire connects to the brass terminal (hot), the white wire to the silver terminal (neutral), and the green or bare wire to the ground terminal. 7. Secure and Close Once connections are made, carefully place the socket back into its box and screw it securely in place. Ensure no wires are pinched or exposed. 8. Final Check Before restoring power, double-check all connections for tightness and safety. Use a multimeter to test the continuity and proper voltage. 9. Restore Power Once all checks are satisfactory, restore power at the circuit breaker and test the socket with a known load to ensure it’s functioning correctly. Expert Insights and Considerations The use of armored cable offers numerous benefits, but it also presents some challenges. It's imperative to ensure the armor is always grounded to prevent any chance of electrical faults. Consulting with or hiring a licensed electrician for installations near sensitive equipment or in complex circuits can enhance not only the safety but also the efficacy of your electrical system. Moreover, the importance of adherence to the National Electrical Code (NEC) cannot be overstated, as it provides the regulatory framework for safe electrical installations. In conclusion, connecting armored cable to a socket involves a series of precise steps, underpinned by expertise, rigorous safety practices, and a comprehensive understanding of the electrical environment. Following these guidelines will facilitate a safe and reliable installation, backed by expert knowledge and industry authority.
Next:
Latest news
-
The Quantum Leap of XLPE Cable in Power DistributionNewsMay.29,2025
-
Mastering the Essentials of Building WireNewsMay.29,2025
-
Innovative Horizons of Rubber Trailing CablesNewsMay.29,2025
-
Exploring the Versatile World of Rubber CablesNewsMay.29,2025
-
Decoding the Mysteries of Building CablesNewsMay.29,2025
-
Advancements Redefining Control Cable TechnologyNewsMay.29,2025
-
Why It's Time to Replace Old Rubber CablesNewsMay.28,2025
Related PRODUCTS


Quick Link
Product Category
-
 +86 311 66160316