Installing Outdoor Sockets Using Armoured Cable by Reliable Electrical Service Providers
Wiring Outdoor Sockets with Armoured Cable A Guide for Homeowners
When it comes to outdoor electrical installations, safety and durability are paramount. One of the most effective ways to ensure a long-lasting and safe electrical connection is by using armoured cable for your outdoor sockets. This guide will walk you through the importance of armoured cable, the reasons for installing outdoor sockets, and tips for wiring them safely.
Understanding Armoured Cable
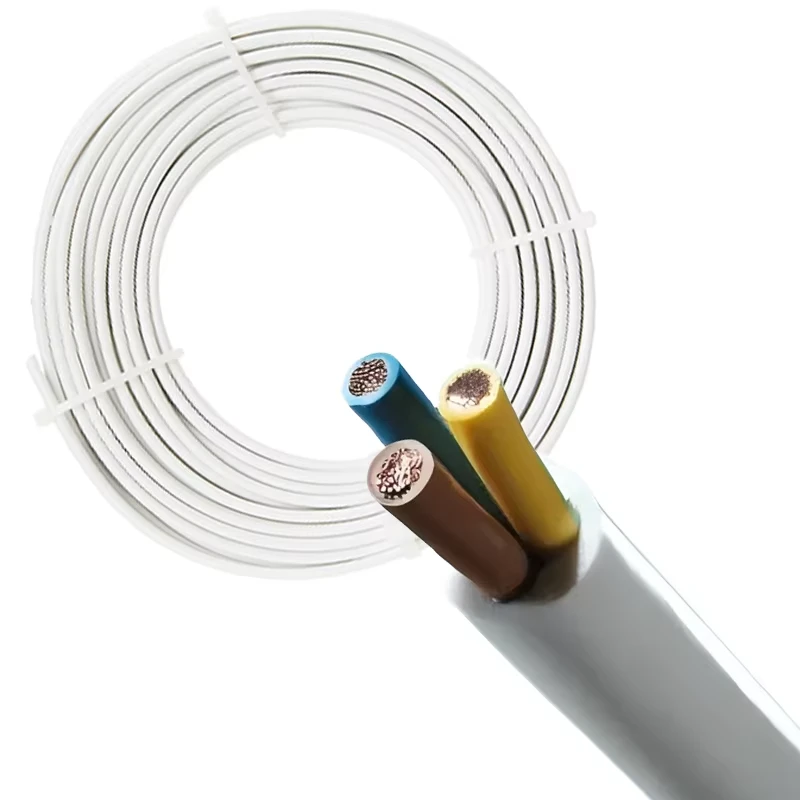
Armoured cable consists of one or more insulated conductors encapsulated in a protective layer, usually made of steel or aluminum. This robust exterior shields the wires from physical damage, moisture, and various environmental factors, making it ideal for outdoor use. The two main types of armoured cables used in outdoor installations are Steel Wire Armoured (SWA) and Aluminium Wire Armoured (AWA) cables. Both provide a high level of durability and protection, but SWA is generally preferred for its superior strength.
Importance of Outdoor Sockets
Outdoor electrical sockets offer a range of functionalities they can power tools, lighting, garden water features, or even electric grills. By installing outdoor sockets, you enhance the usability of your outdoor spaces, making gardening, DIY projects, or social gatherings around the yard much more convenient. However, these sockets must be installed correctly to prevent electrical hazards.
Planning Your Installation
Before you begin, it's crucial to plan the installation carefully. Choose a suitable location for your outdoor sockets, away from areas where they may be exposed to water or debris. Ensure that your electrical system can support the additional load and that you have the necessary permissions from local authorities or homeowner associations.
Tools and Materials Needed
For wiring outdoor sockets with armoured cable, you will need
1. Armoured cable (appropriate gauge for outdoor use) 2. Outdoor-rated sockets 3. Junction box 4. Cable glands 5. Tools (drill, screwdriver, wire strippers, voltage tester, etc.) 6. Personal protective equipment (gloves, goggles)
wiring outdoor socket with armoured cable companies

Steps for Installation
1. Turn Off the Power Safety first! Always turn off the power at the circuit breaker before beginning any electrical work.
2. Run the Armoured Cable Measure and cut the armoured cable to the required length. Use a cable gland to secure the cable entry into the junction box, ensuring it’s watertight.
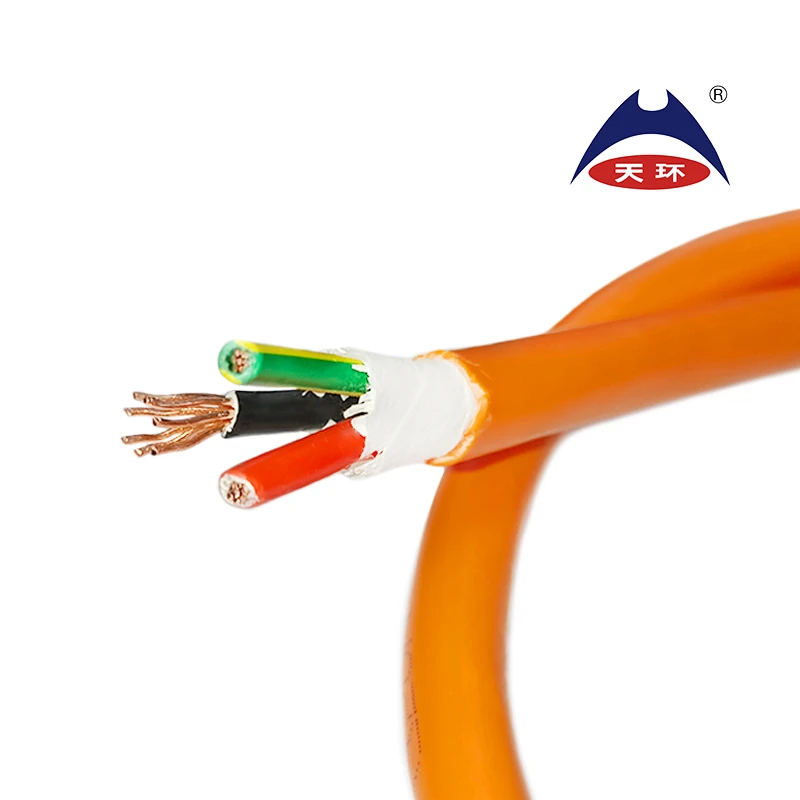
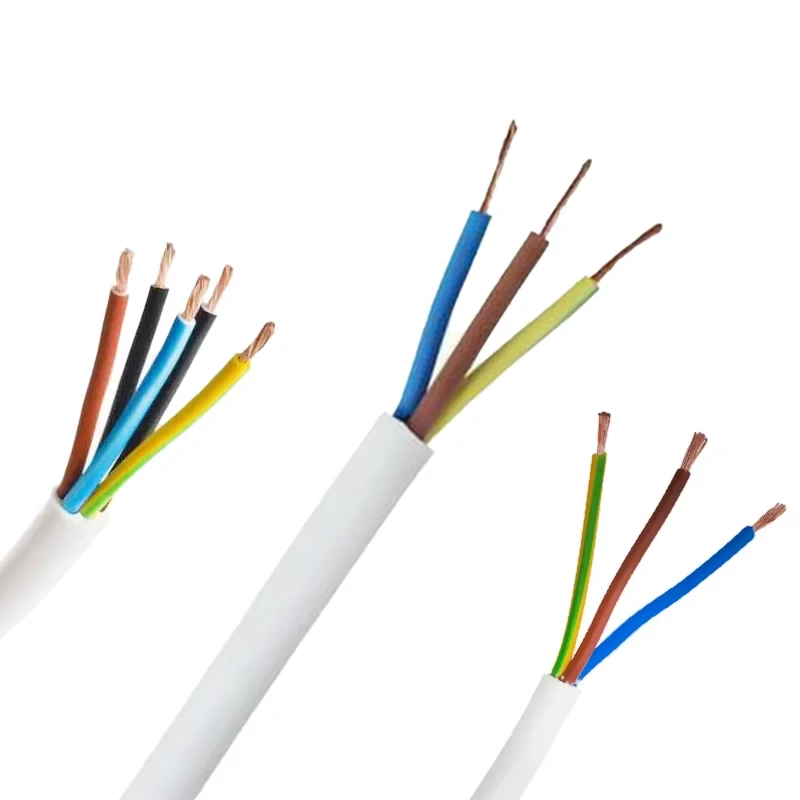
3. Connecting Wires Inside the junction box, strip the ends of the insulated wires. Connect the live (brown or red), neutral (blue or black), and earth (green/yellow) wires to the corresponding terminals in the outdoor socket.
4. Secure the Socket Mount the outdoor socket securely to the wall or a post. Ensure it is properly aligned and attached using screws.
5. Test the Connection Before closing everything up, use a voltage tester to check that connections are correct and there are no short circuits.
6. Seal and Protect Use outdoor-rated sealants or covers to protect the socket from moisture. Ensure all exposed parts are covered and secure.
7. Turn On the Power Once everything is connected and secured, turn the power back on and test your outdoor socket.
Final Thoughts
Wiring outdoor sockets with armoured cable is an excellent way to enhance your property’s functionality while ensuring safety and durability. However, if you’re uncertain about any part of the process, it’s always wise to consult a licensed electrician. Proper installation not only prevents accidents but also ensures that your outdoor electrical systems work efficiently for years to come. Whether you're looking to power a garden shed or set up lighting for evening gatherings, armoured cables and outdoor sockets will help you achieve your outdoor electrical goals safely.
-
The Quantum Leap of XLPE Cable in Power DistributionNewsMay.29,2025
-
Mastering the Essentials of Building WireNewsMay.29,2025
-
Innovative Horizons of Rubber Trailing CablesNewsMay.29,2025
-
Exploring the Versatile World of Rubber CablesNewsMay.29,2025
-
Decoding the Mysteries of Building CablesNewsMay.29,2025
-
Advancements Redefining Control Cable TechnologyNewsMay.29,2025
-
Why It's Time to Replace Old Rubber CablesNewsMay.28,2025


