famous electrical wiring for outdoor shed
Famous Electrical Wiring for Outdoor Sheds
Creating an outdoor shed can serve multiple purposes, from storing gardening tools to serving as a cozy retreat. However, for those looking to enhance the functionality of their shed, integrating electrical wiring is key. This article explores the best practices and considerations for electrical wiring in outdoor sheds, drawing from well-known standards and techniques.
Understanding Your Needs
Before delving into the wiring process, it's essential to determine what you will use your shed for. Will it be a simple storage space, or do you plan to use it as a workshop equipped with power tools, lighting, and potentially heating or cooling systems? Understanding your needs will aid in selecting the appropriate electrical components and planning the layout effectively.
Planning the Electrical Layout
Once your needs are identified, sketch a basic layout of your shed, marking where you will place outlets, switches, and lighting fixtures. Consider how many outlets you will need, keeping in mind the tools and equipment you plan to use. For example, if you’re setting up a workbench, plan for at least two outlets within easy reach.
Choosing the Right Wiring
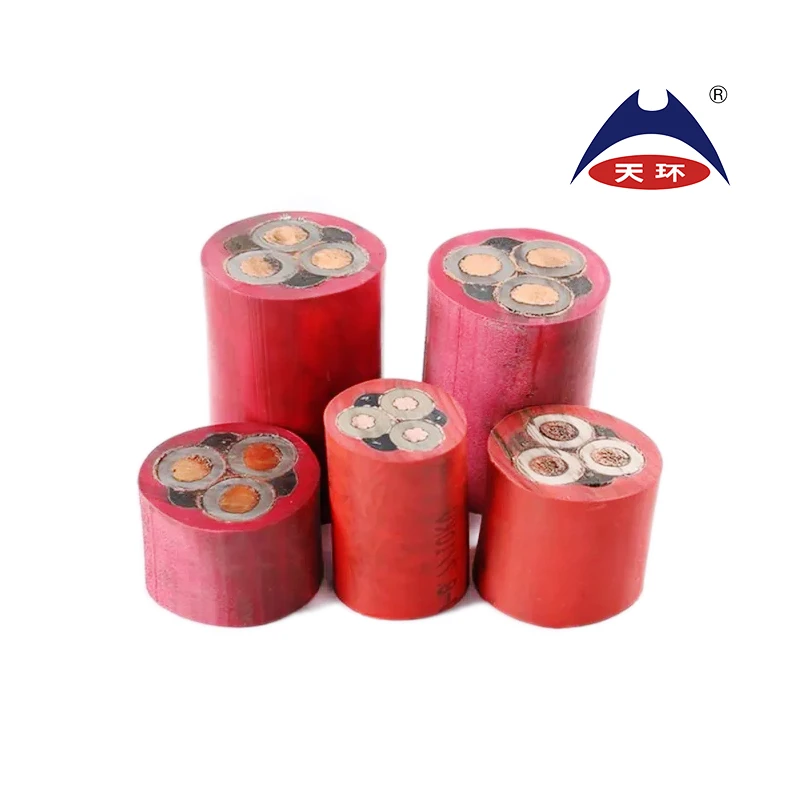
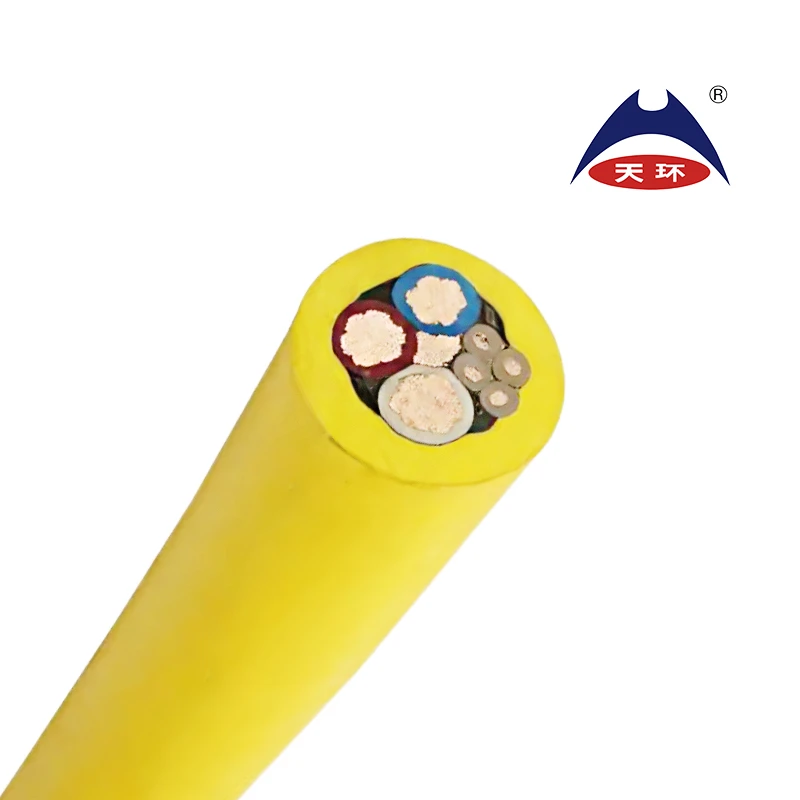
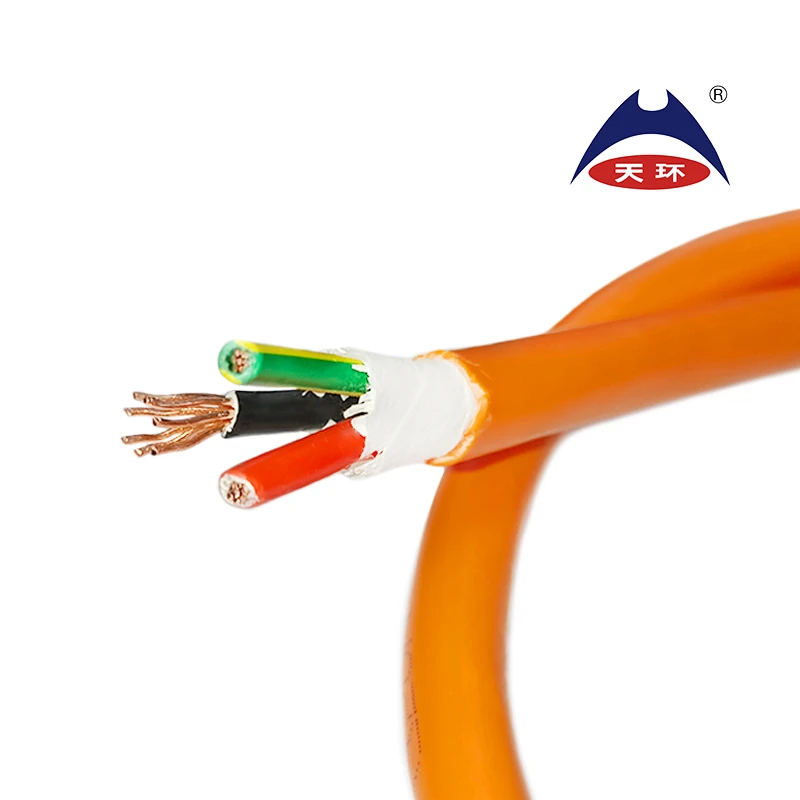
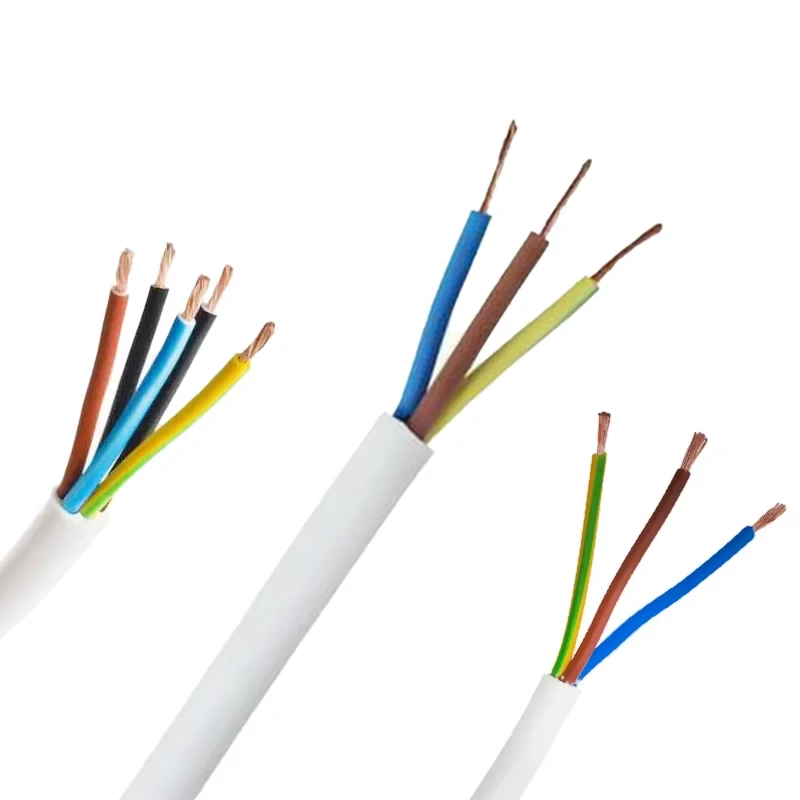
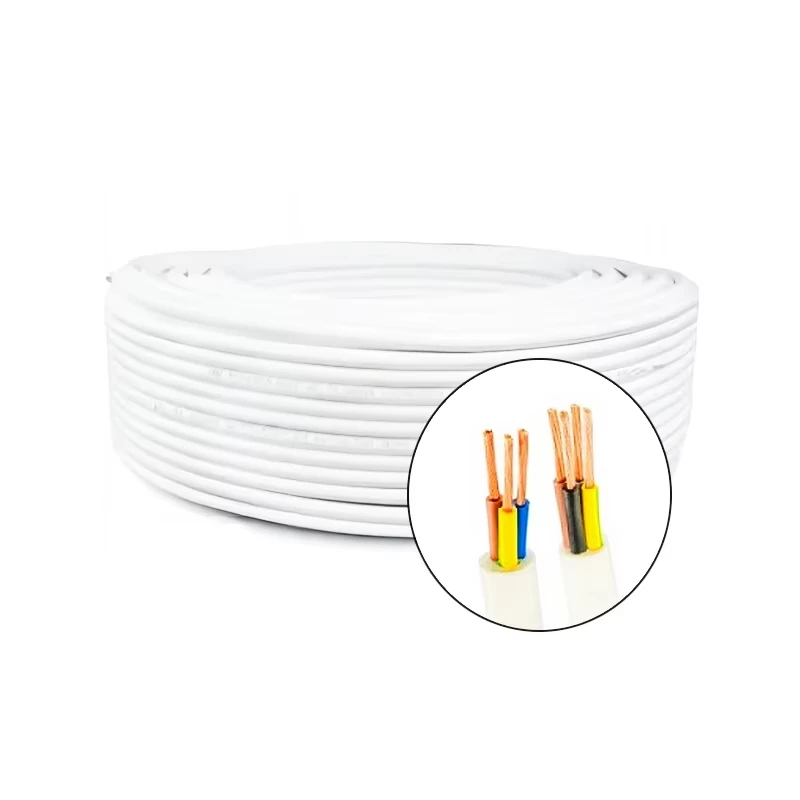
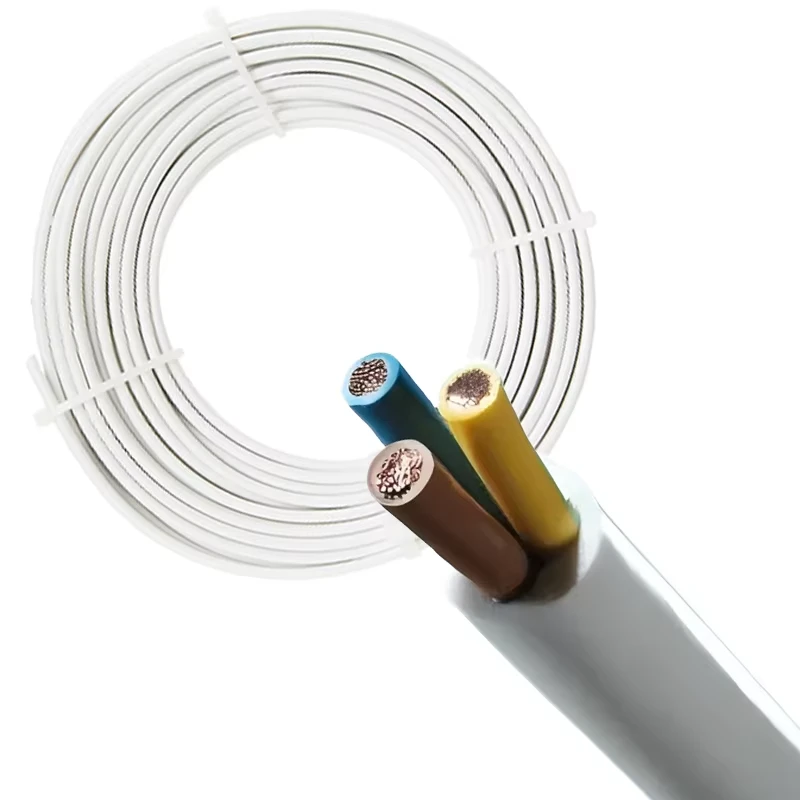
Electrical wiring for outdoor sheds is subject to specific codes and regulations. It’s important to use outdoor-rated wiring, which is designed to withstand harsher weather conditions. Typically, the National Electrical Code (NEC) requires using underground feeder (UF) cable for sheds, especially those situated away from the house.
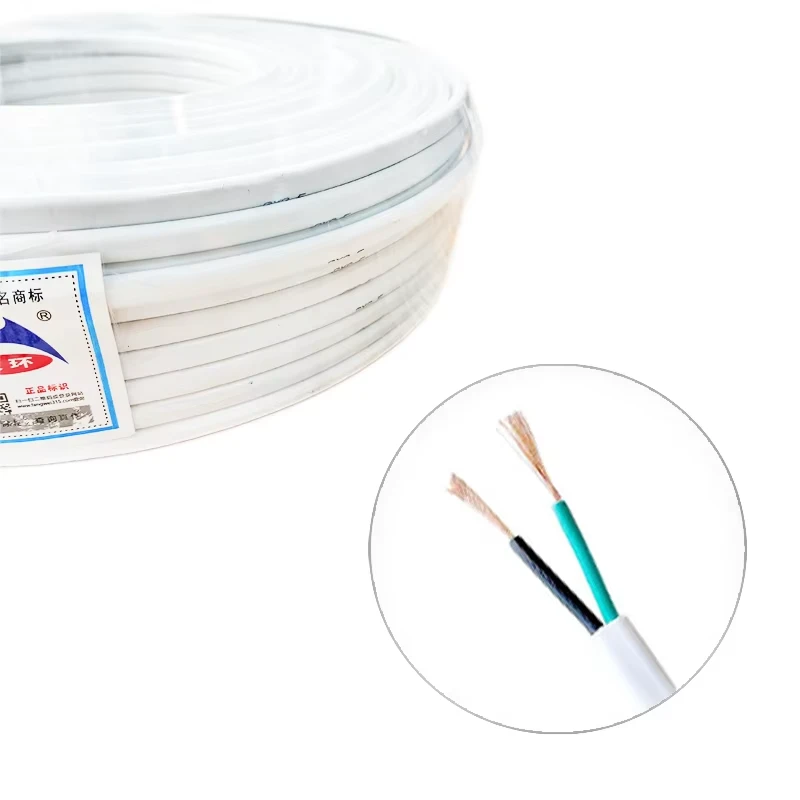
For equipment like lights and outlets, use 14-gauge wire for standard applications, but you might need 12-gauge wire for high-wattage tools. Always consult your local building codes and possibly a licensed electrician, as regulations might vary by region.
famous electrical wiring for outdoor shed

Installing the Circuit
The installation of the circuit should be conducted with safety as the top priority. First, disconnect power to the existing circuit at the main electrical panel. From there, dig a trench at least 24 inches deep for the UF cable to run from the house to the shed. It’s advisable to run the cabling through a conduit, providing extra protection against moisture and physical damage.
Once the trench is prepared, lay the UF cable at the bottom, cover it with soil, and finally, mark the ground above for future reference. Inside the shed, install a subpanel if you require additional circuits, or you can simply add outlets and lights as necessary.
Lighting and Outlets Installation
Install ceiling lights for adequate illumination, particularly if you intend to work in the shed at night. Utilize LED fixtures for energy efficiency. For outlets, follow the previous wiring layout you designed. Make sure outlets are installed according to the NEC guidelines, with GFCI protection to prevent electrocution in case of moisture.
Final Thoughts
Wiring an outdoor shed is a task that requires careful planning and attention to detail. By choosing the right materials, understanding your needs, and adhering to local codes, you can create a safe and functional space. It is always wise to consult with or hire a licensed electrician if you're unsure about any part of the wiring process. With the right setup, your shed can become a remarkable extension of your home, equipped for a range of activities year-round.
In summary, investing time and effort into proper electrical wiring not only enhances the utility of your outdoor shed but also ensures safety and longevity. The joy of being able to work or relax in your shed, powered efficiently and safely, is well worth the effort.
-
Reliable LIYCY Cable Solutions for Low and Medium Voltage ApplicationsNewsJul.14,2025
-
Premium Overhead Electrical Wire Solutions for Low and Medium Voltage ApplicationsNewsJul.14,2025
-
Innovative XLPE Electrical Cable Solutions for Modern Low and Medium Voltage NetworksNewsJul.14,2025
-
High-Quality Ethylene Propylene Rubber Cable – Durable EPDM Cable & 1.5 mm 3 Core OptionsNewsJul.14,2025
-
Exploring the Versatility of H1Z2Z2-K 1X4mm2 Cables in Modern ApplicationsNewsJul.14,2025
-
Uses of Construction WiresNewsJul.14,2025
-
Types of Neoprene CableNewsJul.14,2025


