Connecting Armoured Cable to a Plug in Industrial Settings for Safe Electrical Installation
Wiring Armoured Cable to a Plug A Guide for Safe and Effective Installation
Wiring an armoured cable to a plug is a task that requires attention to detail, safety precautions, and a good understanding of electrical principles. Armoured cables are designed to provide protection against physical damage, which makes them ideal for installations in environments prone to wear and tear, such as outdoor settings or industrial applications. This guide will walk you through the essential steps and considerations for wiring an armoured cable to a plug.
Understanding Armoured Cable
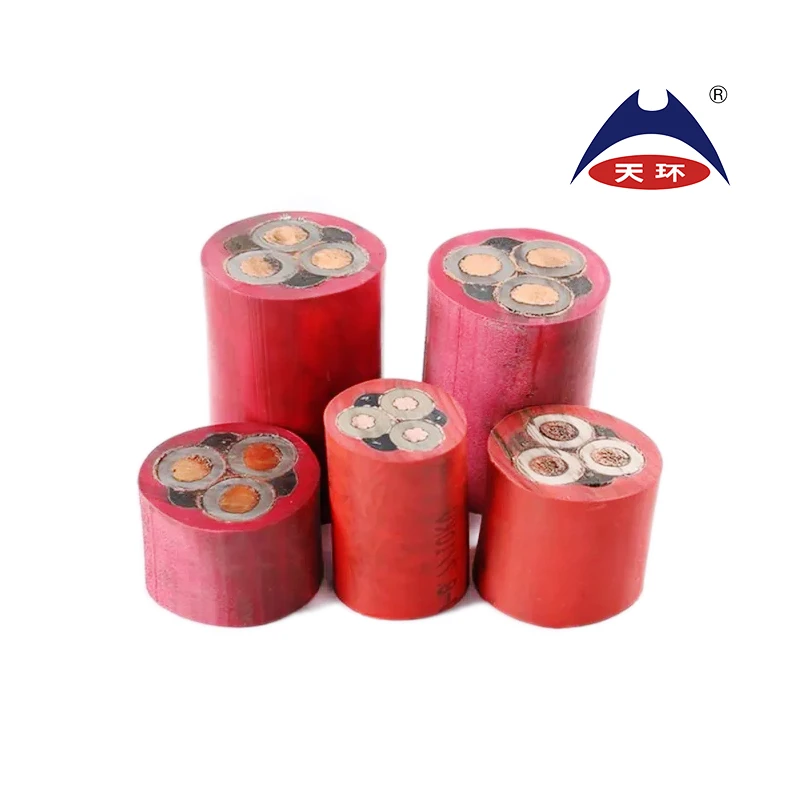
Armoured cables contain a protective layer of steel or aluminum, making them stronger and more resilient than standard cables. They are typically used in situations where extra protection is necessary, such as in underground installations or high-traffic areas. Armoured cables come in various types, including SWA (steel wire armoured) and AWA (aluminium wire armoured), and they can carry various voltages and currents.
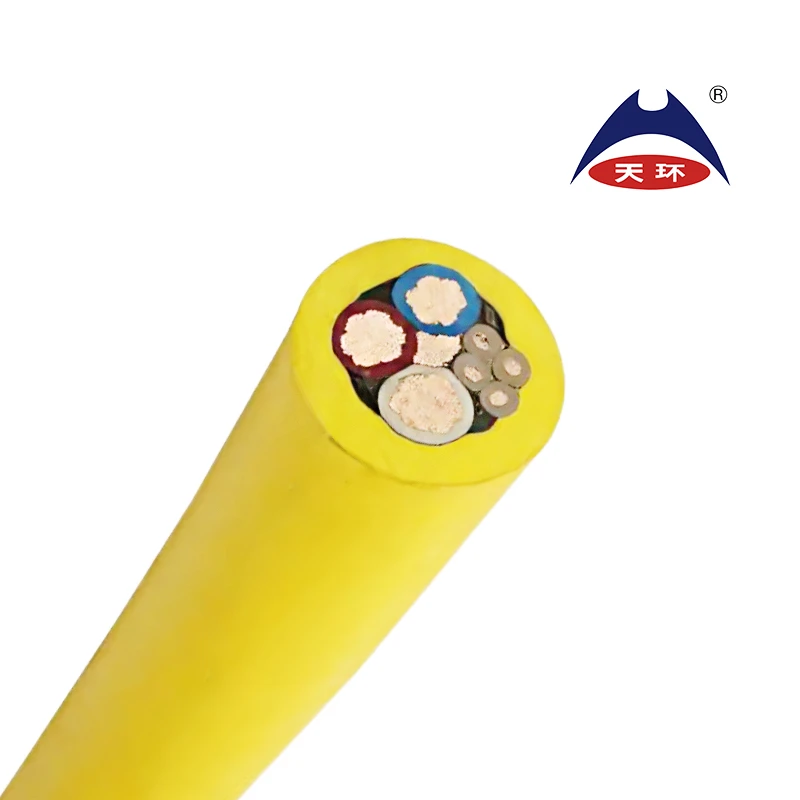
Before beginning any installation, it is crucial to understand the specifications of the cable being used. Check the voltage rating, insulation type, and the number of conductors, which usually include live, neutral, and earth wires. This understanding ensures that the cable meets the requirements of the electrical system to which it will be connected.
Tools and Materials Needed
To wire an armoured cable to a plug, you will need the following tools and materials
- Armoured cable of the appropriate length and specification - Electrical plug compatible with the cable - Cable cutter - Wire stripper - Screwdriver - Multimeter for testing - Heat shrink tubing or cable glands (optional for enhanced protection)
Step-by-Step Wiring Process
1. Preparation Before wiring, ensure that the power supply is turned off. Use a multimeter to confirm that the circuit is de-energized. Wear personal protective equipment, such as gloves and safety glasses.
wiring armoured cable to a plug factory
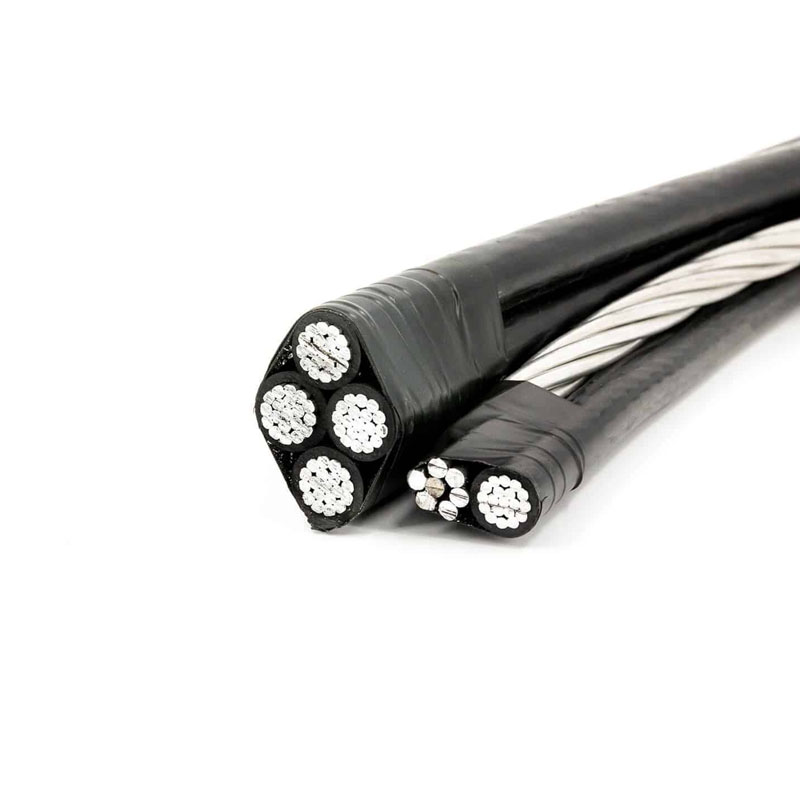
3. Strip the Outer Layer Carefully strip away the outer sheath of the armoured cable using a wire stripper. Take care not to damage the inner conductors. Remove enough length to allow for a comfortable connection to the plug.
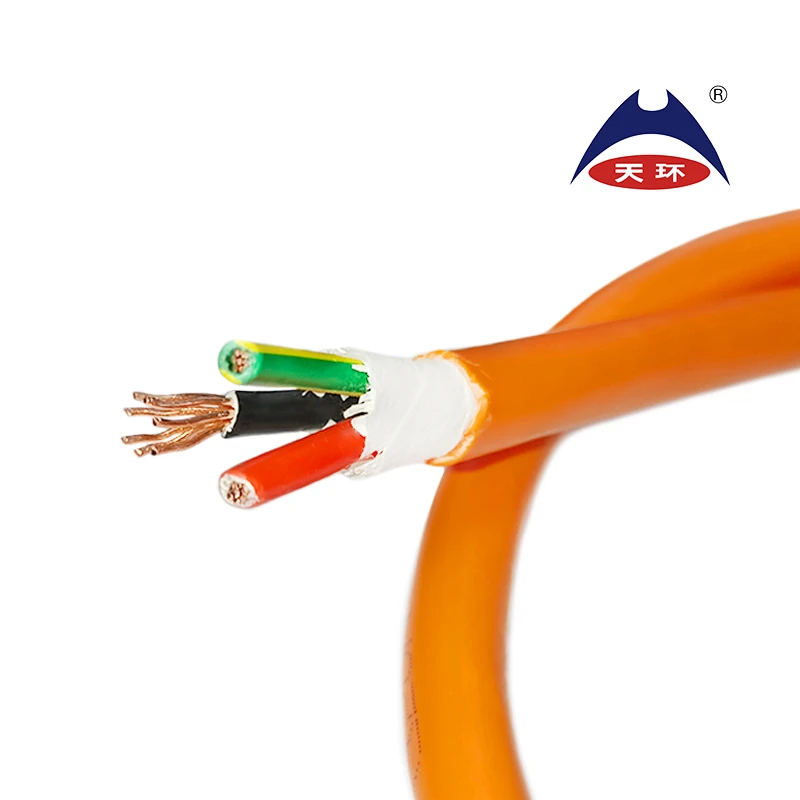
4. Expose the Conductors After removing the outer sheath, you will see the inner insulated conductors. Strip the insulation from the ends of each conductor (live, neutral, and earth) to create a clean area for connection.
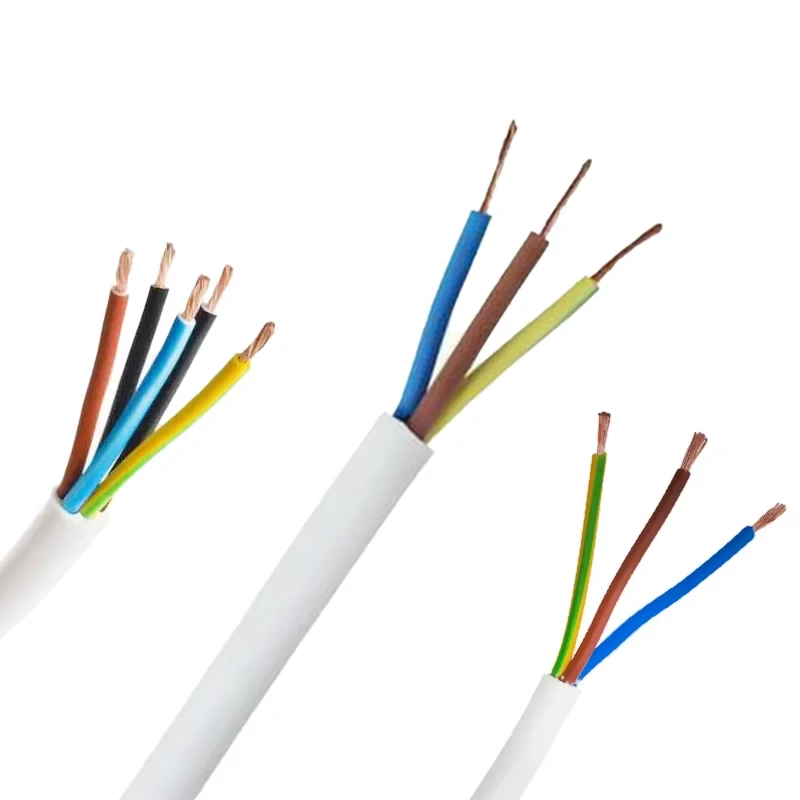
5. Connect the Conductors to the Plug Open the plug casing and identify the terminals. Typically, these include - Live (usually brown or red) - Neutral (usually blue or black) - Earth (green/yellow or bare wire)
Connect each conductor to its corresponding terminal, ensuring a secure fit. Tighten the screws without over-tightening, which could damage the conductors.
6. Secure the Cable If applicable, use cable glands to secure the entry point of the armoured cable into the plug. This provides additional strain relief and prevents movement of the cable, which could lead to wear over time.
7. Final Assembly Once all connections are made, carefully close the plug casing. Ensure that no wires are pinched or exposed.
8. Testing the Connection Before re-energizing, perform a continuity test using a multimeter to ensure all connections are secure and correctly wired.
9. Power Up Restore power to the circuit and test the plug to ensure it functions correctly.
Conclusion
Wiring an armoured cable to a plug is a straightforward but essential task that requires careful attention and adherence to safety standards. With the right tools, materials, and knowledge, you can achieve a safe and reliable connection. Always remember that if you're uncertain or inexperienced with electrical installations, consulting a qualified electrician is the best course of action. This ensures compliance with local regulations and safety standards while protecting you and your property from potential hazards.
-
The Quantum Leap of XLPE Cable in Power DistributionNewsMay.29,2025
-
Mastering the Essentials of Building WireNewsMay.29,2025
-
Innovative Horizons of Rubber Trailing CablesNewsMay.29,2025
-
Exploring the Versatile World of Rubber CablesNewsMay.29,2025
-
Decoding the Mysteries of Building CablesNewsMay.29,2025
-
Advancements Redefining Control Cable TechnologyNewsMay.29,2025
-
Why It's Time to Replace Old Rubber CablesNewsMay.28,2025


