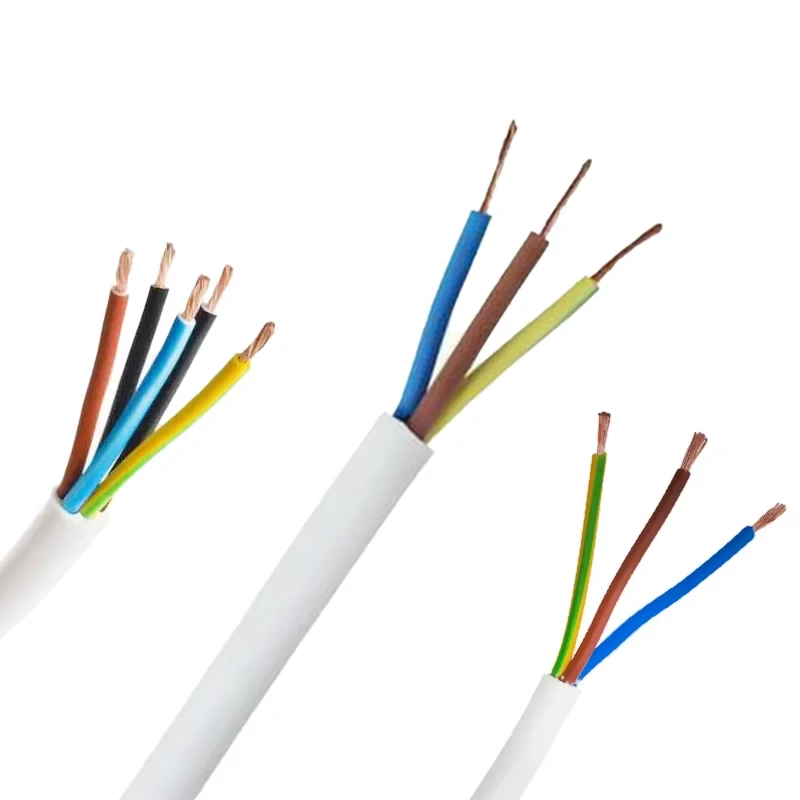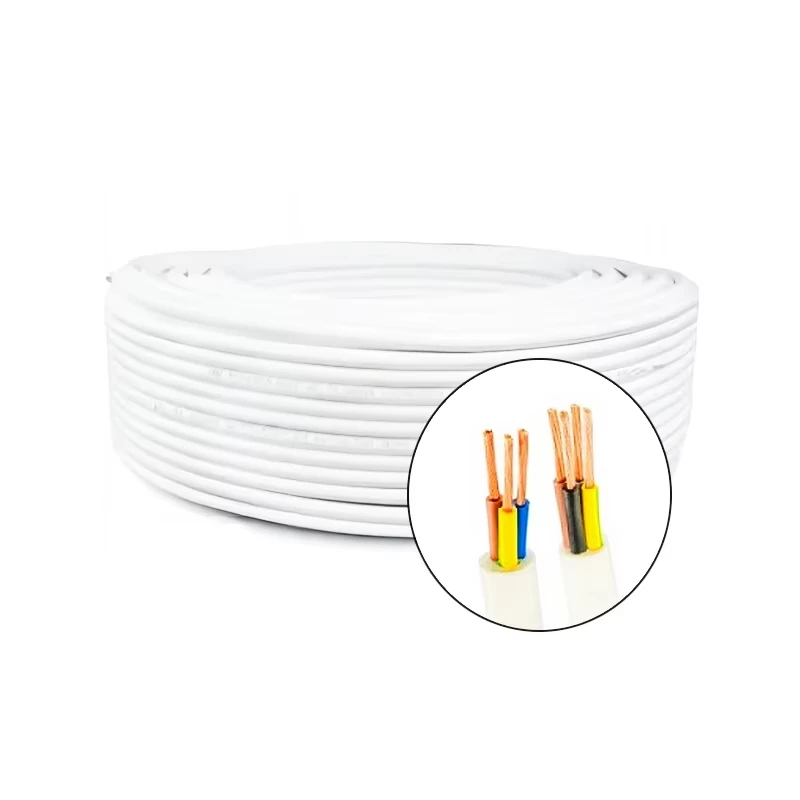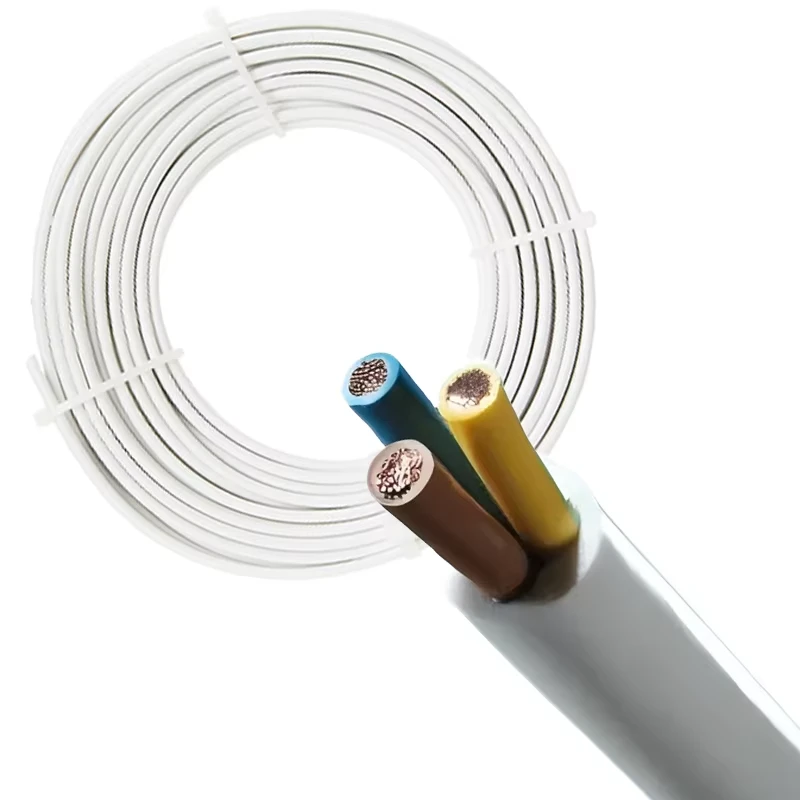
armoured cable to outdoor socket service
Installing Armoured Cable to an Outdoor Socket A Comprehensive Guide
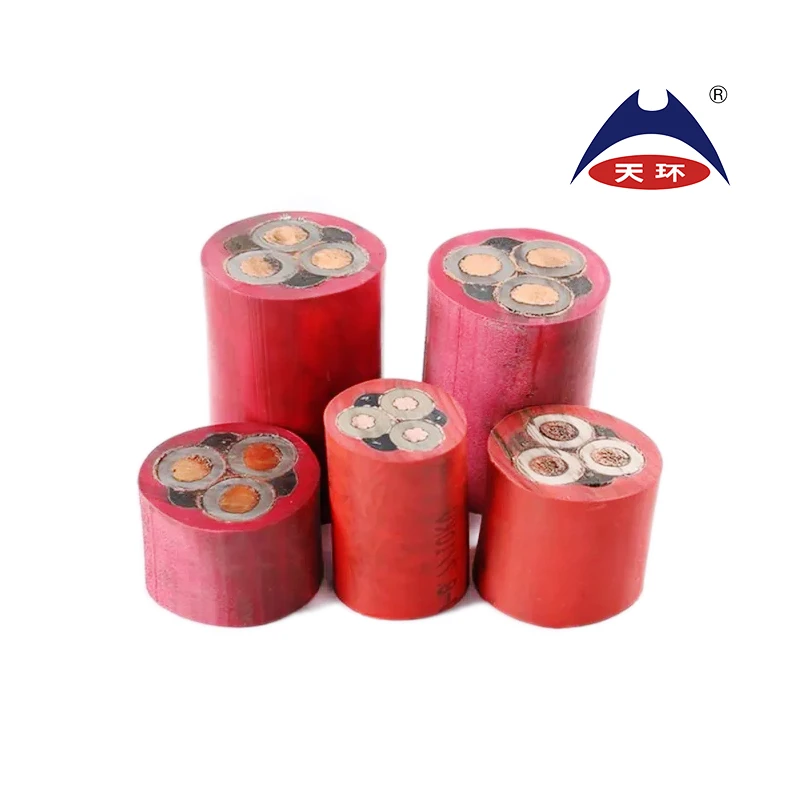
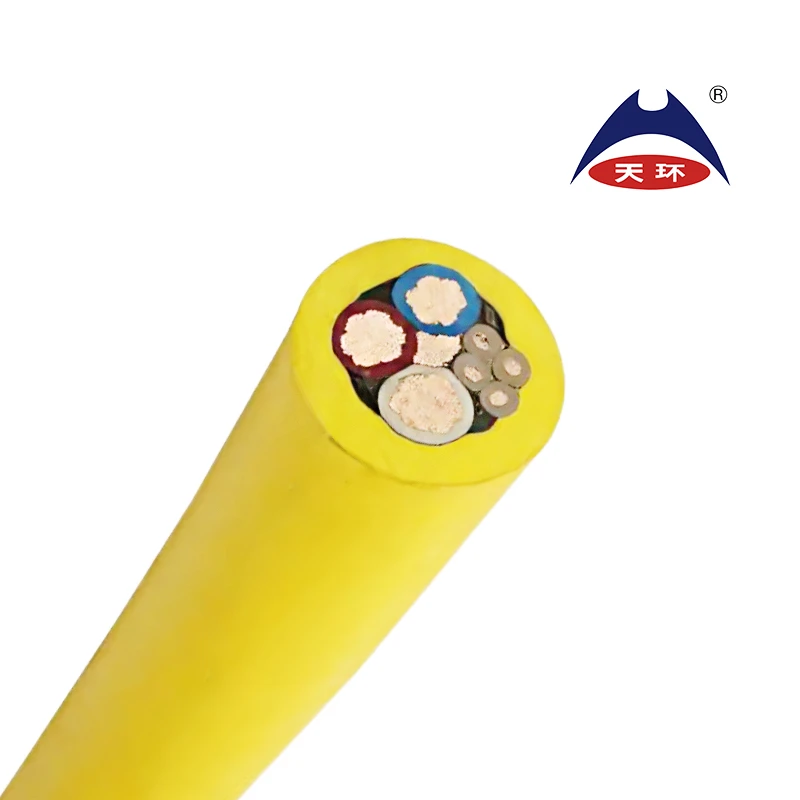
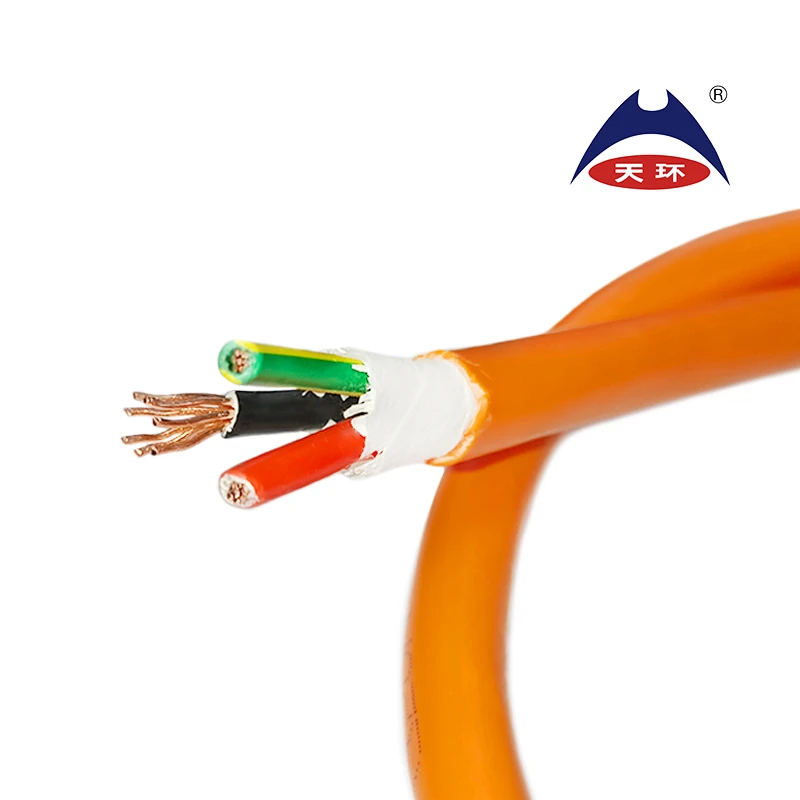
When it comes to enhancing your outdoor spaces with electrical power, using an armoured cable for outdoor sockets is a practical and efficient solution. Armoured cables are specifically designed to withstand harsh environmental conditions, making them ideal for outdoor installations. This article will explore the benefits of using armoured cables and provide a step-by-step guide on how to install an outdoor socket safely.
Why Choose Armoured Cable?
1. Durability Armoured cables are encased in a protective layer that can resist mechanical damage and protect against rodents, moisture, and extreme temperatures. This makes them suitable for outdoor applications where exposure to the elements is a concern.
2. Safety These cables often come with additional insulation and a grounding system that enhances electrical safety. Using armoured cables helps minimize the risk of electrical shocks and short circuits, particularly in wet environments.
3. Versatility Armoured cables can be used for various applications, such as powering garden lights, outdoor appliances, or tools. Their adaptability makes them a wise choice for homeowners looking to expand their outdoor power supply.
Steps to Install Armoured Cable to an Outdoor Socket
1. Planning and Preparation
Before starting any electrical work, ensure that you have planned the installation properly. Determine the location of the outdoor socket and how far it is from your indoor power source. Check local electrical codes and regulations to ensure compliance, as building codes may have specific requirements for outdoor wiring.
2. Gathering Materials
You will need the following materials
armoured cable to outdoor socket service
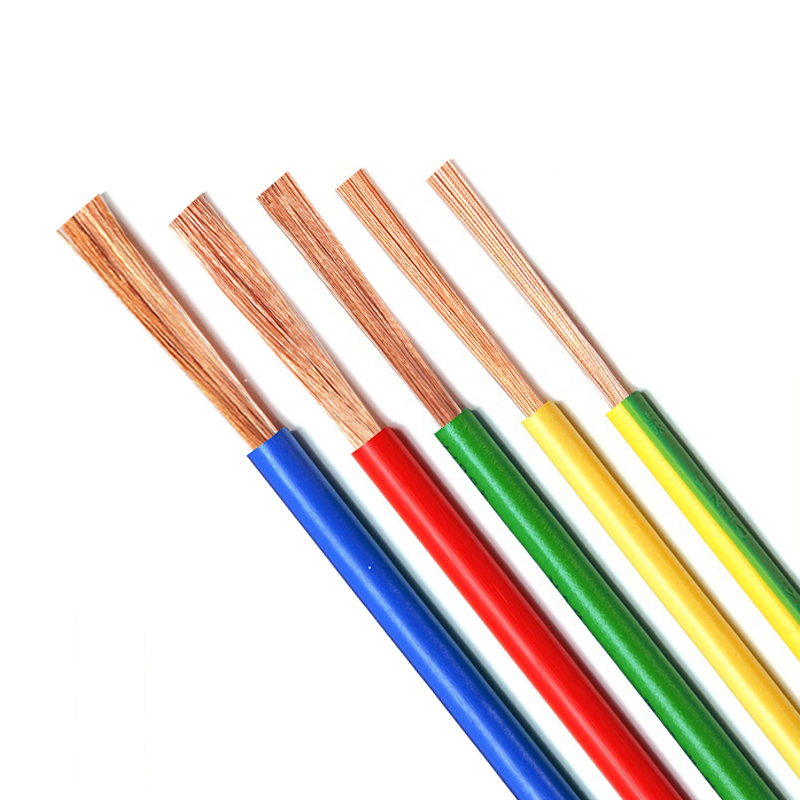
- Armoured cable (suitable for the distance and load) - Weatherproof outdoor socket - Junction box (if necessary) - Cable clips or conduits - Tools such as wire cutters, a screwdriver, and a drill
3. Turning Off Power
Before beginning the installation, turn off the power at the circuit breaker to avoid any electric shock. It’s essential to prioritize safety throughout the process.
4. Installing the Cable
Start by running the armoured cable from the indoor power source to the designated outdoor socket location. Use cable clips or conduits to secure the cable along walls or fences, ensuring that it’s protected from potential damage.
5. Connecting the Socket
Once the cable reaches the outdoor socket, strip the ends of the wires and connect them according to the manufacturer’s instructions. Ensure that all connections are tight and secure to prevent electrical faults.
6. Testing the Installation
After completing the installation, turn on the power at the circuit breaker and test the outdoor socket with an appropriate voltage tester. This step is crucial to ensure that everything is functioning correctly and safely.
Conclusion
Installing an armoured cable to an outdoor socket can significantly enhance your outdoor electrical capabilities. By following these guidelines and prioritizing safety, you can enjoy the convenience of power in your outdoor space while ensuring compliance with local regulations. Always consider consulting a professional electrician if you have any doubts about the installation process.
-
Reliable LIYCY Cable Solutions for Low and Medium Voltage ApplicationsNewsJul.14,2025
-
Premium Overhead Electrical Wire Solutions for Low and Medium Voltage ApplicationsNewsJul.14,2025
-
Innovative XLPE Electrical Cable Solutions for Modern Low and Medium Voltage NetworksNewsJul.14,2025
-
High-Quality Ethylene Propylene Rubber Cable – Durable EPDM Cable & 1.5 mm 3 Core OptionsNewsJul.14,2025
-
Exploring the Versatility of H1Z2Z2-K 1X4mm2 Cables in Modern ApplicationsNewsJul.14,2025
-
Uses of Construction WiresNewsJul.14,2025
-
Types of Neoprene CableNewsJul.14,2025


