wiring armoured cable to a socket factories
Wiring Armoured Cable to a Socket A Comprehensive Guide
When it comes to electrical installations, safety and reliability are paramount. Armoured cables are widely used in various applications due to their robust nature and ability to withstand external factors. Whether you're working on a commercial project or a home renovation, understanding how to wire armoured cable to a socket is essential. This article will guide you through the process, ensuring you achieve a safe and efficient installation.
Understanding Armoured Cable
Armoured cables are designed to provide protection against mechanical damage, moisture, and corrosion. Typically, they consist of multiple layers a conductor, insulation, and an outer armouring made of either steel or aluminium. This makes them ideal for outdoor use, industrial environments, and locations where the cable may be exposed to physical stresses. Commonly used types include Steel Wire Armoured (SWA) cables, which are popular in many electrical installations.
Tools and Materials Needed
Before starting, ensure you have the necessary tools and materials
1. Armoured Cable Ensure it is compatible with your socket requirements. 2. Socket Outlet Choose a suitable socket for your needs (e.g., standard, weatherproof). 3. Cable Glands To secure and seal the armoured cable at the socket. 4. Screwdriver For securing the socket connections. 5. Wire Strippers To strip the insulation from the cable. 6. Voltage Tester To ensure the circuit is dead before you start work. 7. Safety Gear Gloves and goggles for protection.
Safety First
Always prioritize safety when working with electrical installations. Before beginning any work, use a voltage tester to ensure the circuit is de-energized. This will protect you from potential electrical shocks. Be mindful of local electrical codes and regulations, as they dictate how installations should be carried out.
wiring armoured cable to a socket factories

Step-by-Step Process
1. Prepare the Armoured Cable - Measure the length of the cable you need and cut it accordingly. - Use wire strippers to carefully remove the outer sheath of the armoured cable, exposing the inner conductors. Be cautious not to damage the insulation of the individual wires.
2. Install the Cable Gland - Attach the cable gland to the socket box. The gland helps anchor the armoured cable and provides a seal against moisture. - Feed the stripped armoured cable through the cable gland and tighten the gland to secure the cable.
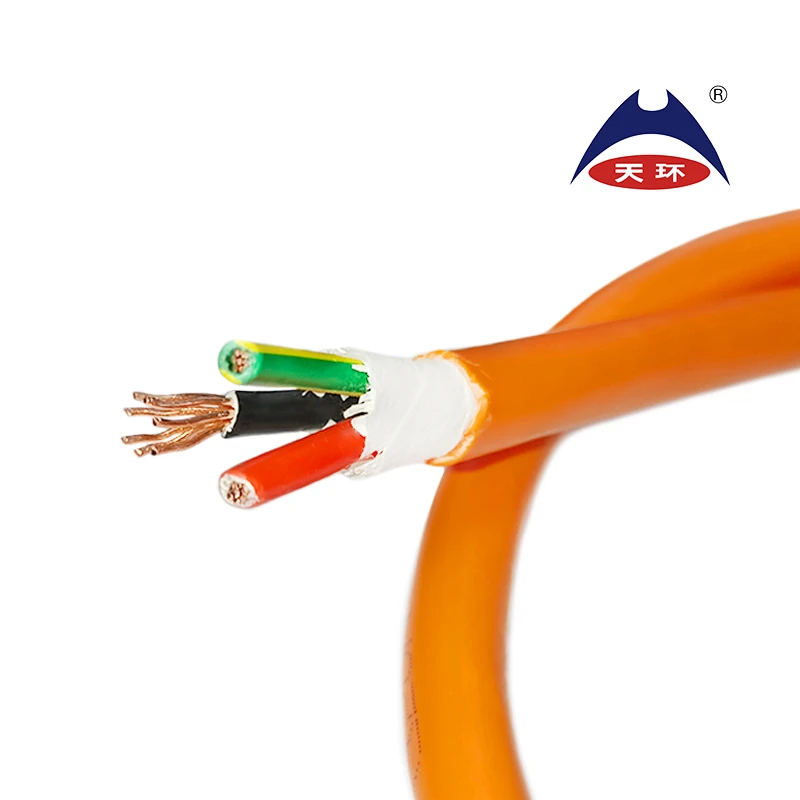
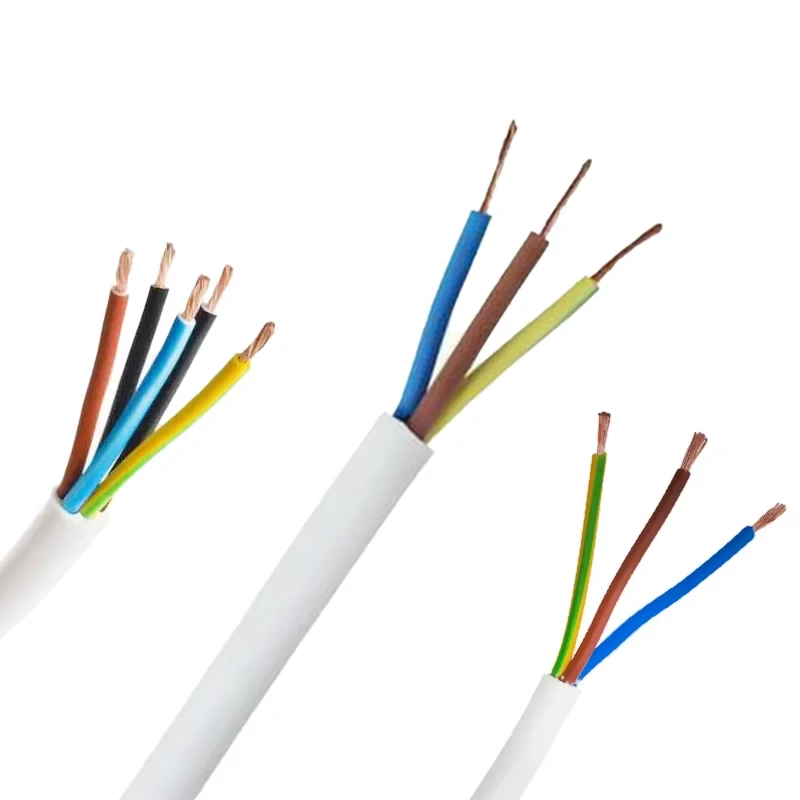
3. Connect the Wires - Typically, armoured cables have three main conductors live (brown), neutral (blue), and earth (green/yellow). - Strip the ends of these wires carefully and connect them to the respective terminals in the socket. Follow these general guidelines - Live (L) Connect the brown wire to the live terminal. - Neutral (N) Connect the blue wire to the neutral terminal. - Earth (E) Connect the green/yellow wire to the earth terminal.
4. Secure the Connections - Ensure all screws are tightened securely to prevent any loose connections which could lead to overheating or electrical faults.
5. Finalize the Installation - Once the wires are connected, carefully push the socket back into the wall box and secure it with screws. - Re-check all connections and the integrity of the installation.
6. Test the Installation - Once everything is in place, restore power to the circuit. - Use a voltage tester to ensure that the socket is functioning correctly before using it.
Conclusion
Wiring an armoured cable to a socket may seem daunting, but with the right tools, materials, and a methodical approach, it can be done safely and effectively. Always remember to wear appropriate safety gear and adhere to local electrical standards. If you're ever in doubt, consulting a qualified electrician is the best way to ensure safety and compliance. With careful attention to detail, you can achieve a reliable and durable electrical installation that will serve you well for years to come.
-
The Quantum Leap of XLPE Cable in Power DistributionNewsMay.29,2025
-
Mastering the Essentials of Building WireNewsMay.29,2025
-
Innovative Horizons of Rubber Trailing CablesNewsMay.29,2025
-
Exploring the Versatile World of Rubber CablesNewsMay.29,2025
-
Decoding the Mysteries of Building CablesNewsMay.29,2025
-
Advancements Redefining Control Cable TechnologyNewsMay.29,2025
-
Why It's Time to Replace Old Rubber CablesNewsMay.28,2025


