wiring outdoor socket with armoured cable exporter
Wiring Outdoor Socket with Armoured Cable A Comprehensive Guide
Wiring an outdoor socket using armoured cable is an essential project for homeowners and electricians alike. This method provides the necessary protection against the elements, ensuring a safe and reliable power supply for outdoor appliances and gadgets. Armoured cable is especially designed to withstand physical damage, making it ideal for external installations where it may be exposed to harsh weather conditions or mechanical wear. Here’s a detailed guide on how to wire an outdoor socket with this type of cable.
Understanding Armoured Cable
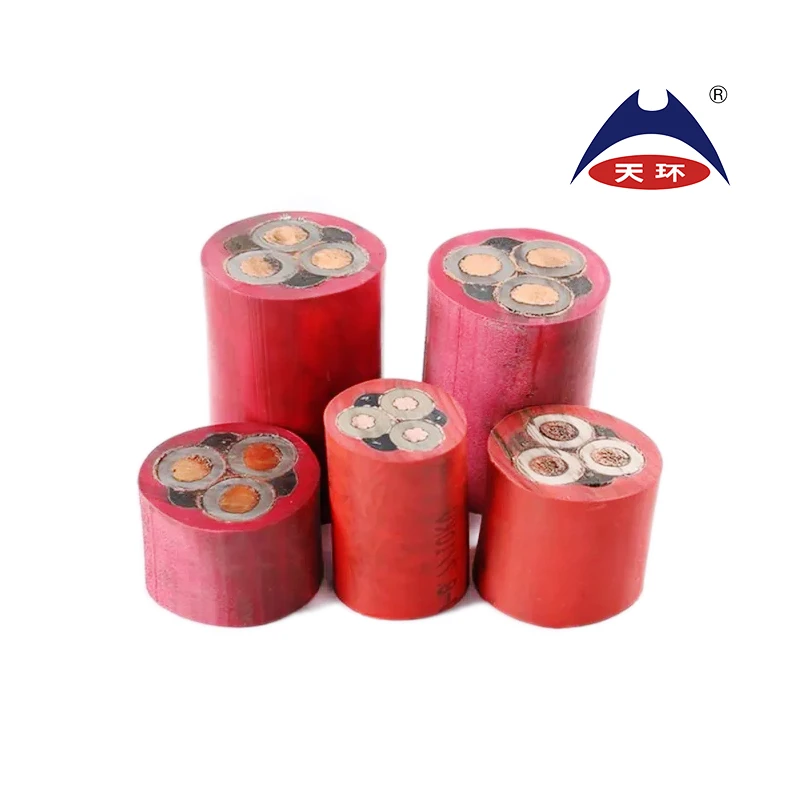
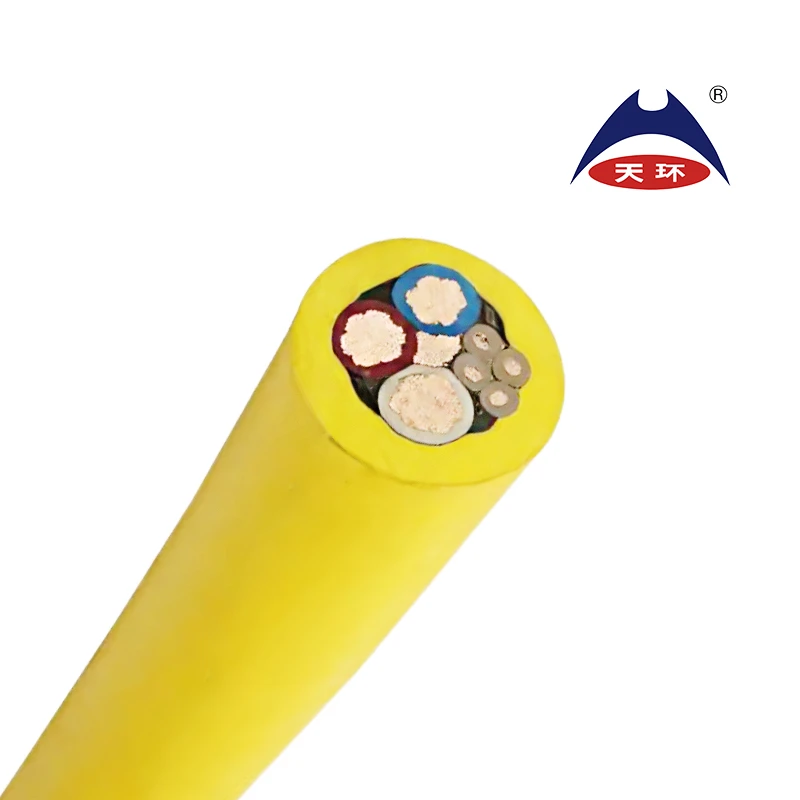
Armoured cable consists of a standard electrical cable enclosed in a protective layer of metal, often steel or aluminum. This construction not only shields the wires from mechanical damage but also contributes to its durability in outdoor environments. There are different types of armoured cables, with the most common being SWA (Steel Wired Armoured) and AWA (Aluminium Wired Armoured).
Tools and Materials Needed
Before starting the installation process, gather the following tools and materials
- Armoured cable (the appropriate length for your installation) - Outdoor socket outlet (weatherproof) - Junction box (weatherproof if the connections are exposed) - Cable glands - A conduit (for additional protection, if necessary) - Tools wire cutters, screwdriver, drill, and a voltage tester
Installation Steps
1. Planning the Route Determine the path for the armoured cable, ensuring it avoids any potential hazards. The cable must run from your main power supply to the location of the outdoor socket.
wiring outdoor socket with armoured cable exporter

2. Shut Off Power Before beginning any electrical work, ensuring the power is turned off at the main circuit breaker is crucial. Use a voltage tester to confirm that the power is off.
3. Drill the Entry Hole If you're running the cable through walls, use a drill to create an entry hole. Ensure it is appropriately sized to accommodate the armoured cable.
4. Install the Armoured Cable Run the armoured cable from the power supply to the outdoor socket location. Use cable clamps to secure the cable to walls and avoid sagging. If the cable is buried underground, remember to follow local regulations regarding trench depth and protection from moisture.
5. Connect the Cable At the junction where the armoured cable meets the outdoor socket, strip the outer sheath of the cable. Use cable glands to create a secure entry point, allowing you to connect the internal wires to the socket terminals safely.
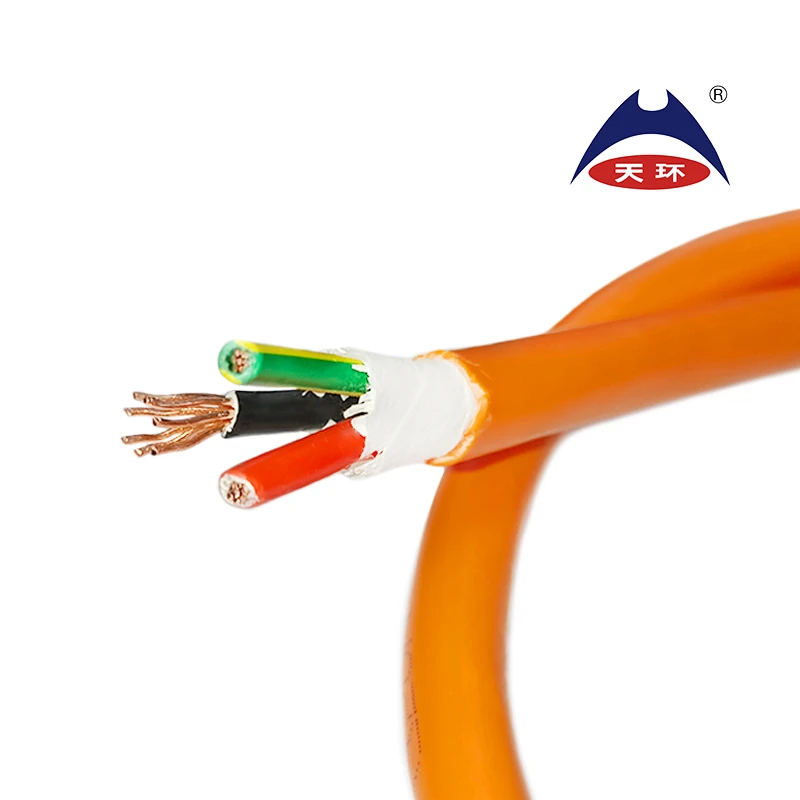
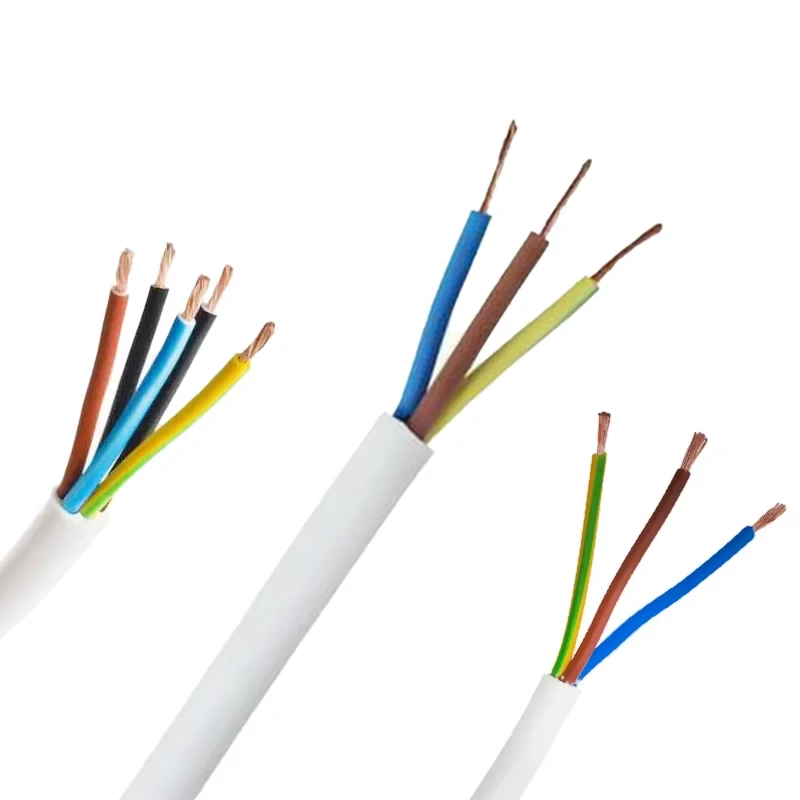
6. Connect to Power Supply Connect the wires to the appropriate terminals of the outdoor socket. Typically, you will find live (brown), neutral (blue), and earth (green/yellow) wires. Ensure all connections are secure and insulated to prevent short circuits.
7. Test Your Work Once the connections are made, double-check everything for safety. Turn the power back on and test the outdoor socket using a voltage tester to confirm it’s operational.
Conclusion
Wiring an outdoor socket with armoured cable is a straightforward task if approached with caution and the correct tools. By following these steps, you can ensure a safe, functional, and weatherproof electrical outlet for your outdoor needs. Always consider hiring a qualified electrician if you're unsure about any part of the process to ensure compliance with local electrical codes and safety standards.
-
The Quantum Leap of XLPE Cable in Power DistributionNewsMay.29,2025
-
Mastering the Essentials of Building WireNewsMay.29,2025
-
Innovative Horizons of Rubber Trailing CablesNewsMay.29,2025
-
Exploring the Versatile World of Rubber CablesNewsMay.29,2025
-
Decoding the Mysteries of Building CablesNewsMay.29,2025
-
Advancements Redefining Control Cable TechnologyNewsMay.29,2025
-
Why It's Time to Replace Old Rubber CablesNewsMay.28,2025


