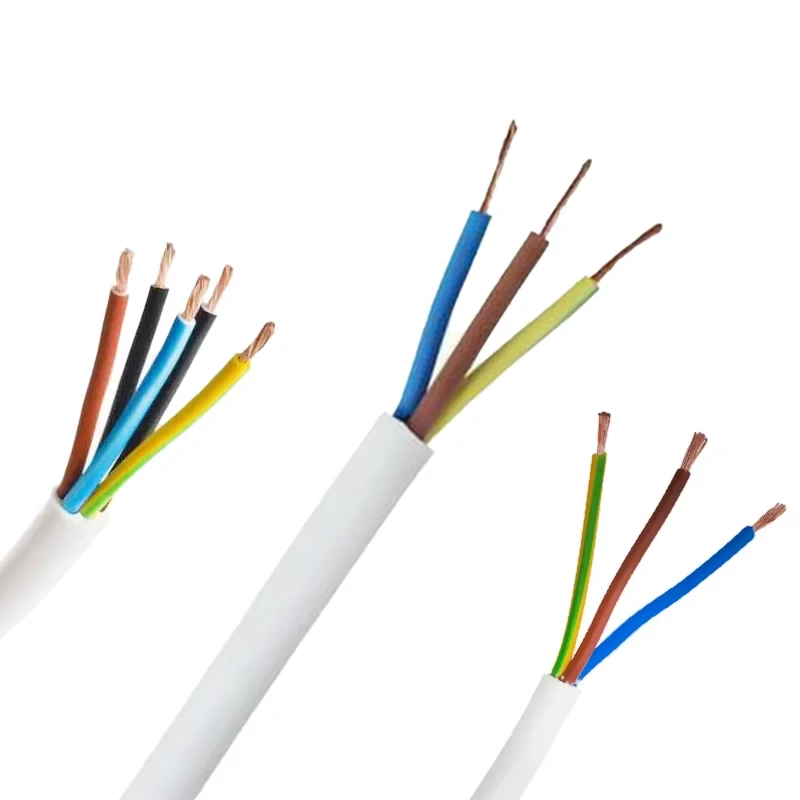
electrical wiring for outdoor shed product
Electrical Wiring for Outdoor Sheds A Comprehensive Guide
When it comes to setting up an outdoor shed, one of the most crucial considerations is electrical wiring. Whether you plan to use your shed for storage, a workshop, or as a cozy retreat, having a reliable electrical system can make all the difference. In this article, we will explore the various aspects of electrical wiring for outdoor sheds, including planning, materials, installation, and safety considerations.
Planning Your Electrical System
The first step in wiring your outdoor shed is to plan the electrical layout. Consider the purpose of the shed and what electrical equipment you will need. For instance, if the shed will function as a workshop, you might need lights, power tools, and outlets for charging batteries. On the other hand, if you are simply using it for storage, you may only require a couple of lights to brighten up the space.
Start by creating a blueprint of the shed and mark the locations for outlets, switches, and fixtures. Standard electrical code usually requires outlets to be placed about every twelve feet along walls, and it’s wise to have at least two outlets on opposite walls to accommodate various tools and equipment. Additionally, don’t forget about the lighting; a combination of overhead lights and task lighting can enhance visibility.
Choosing the Right Materials
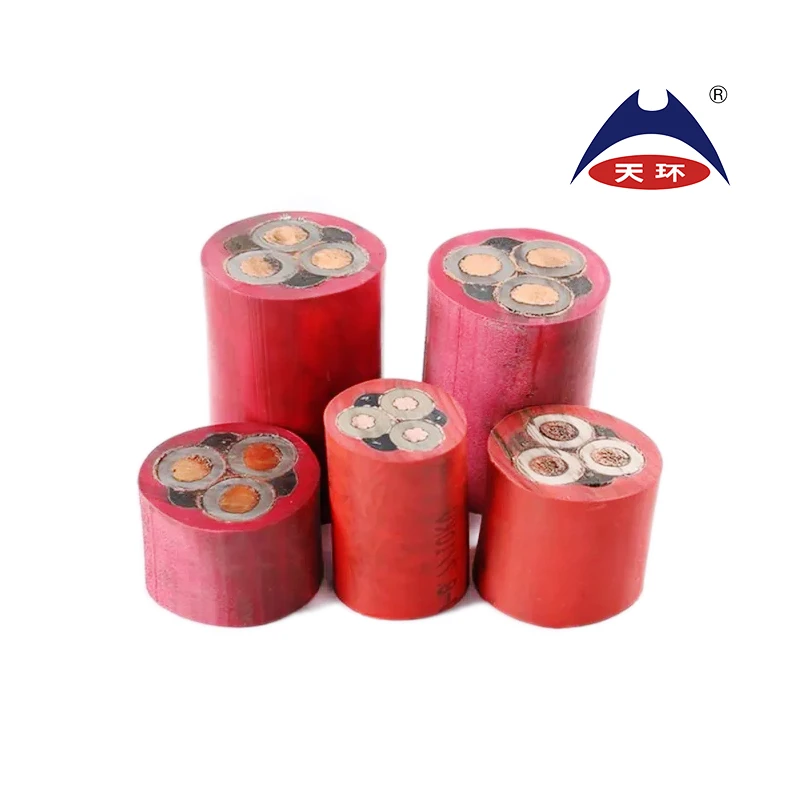
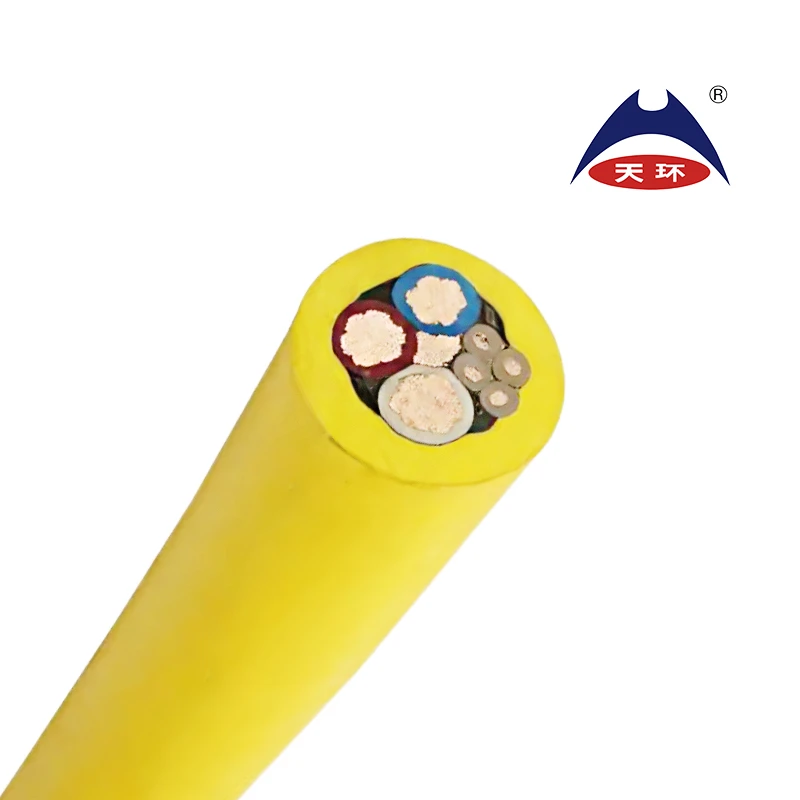
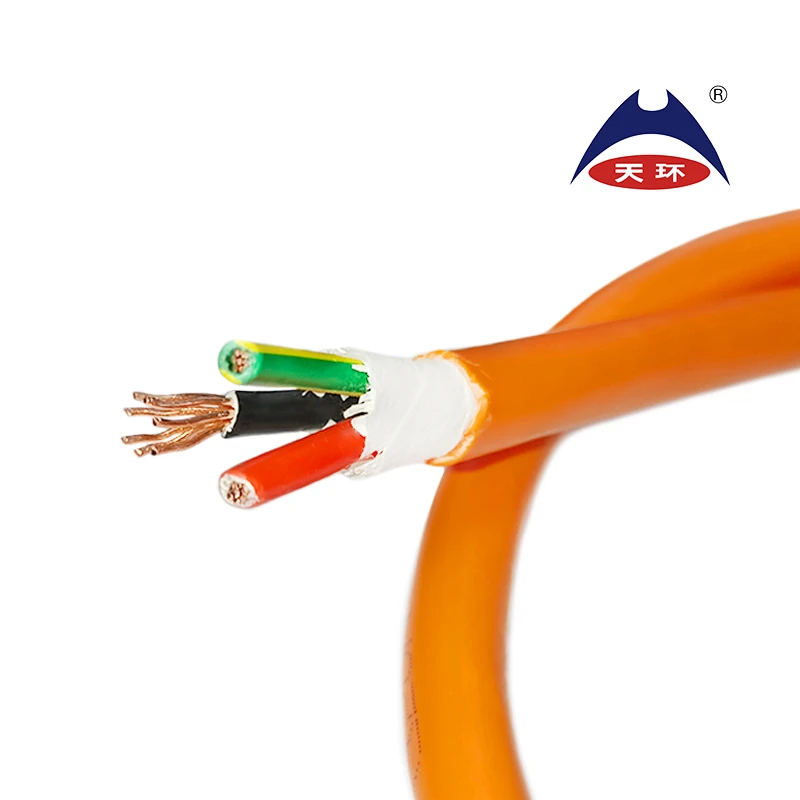
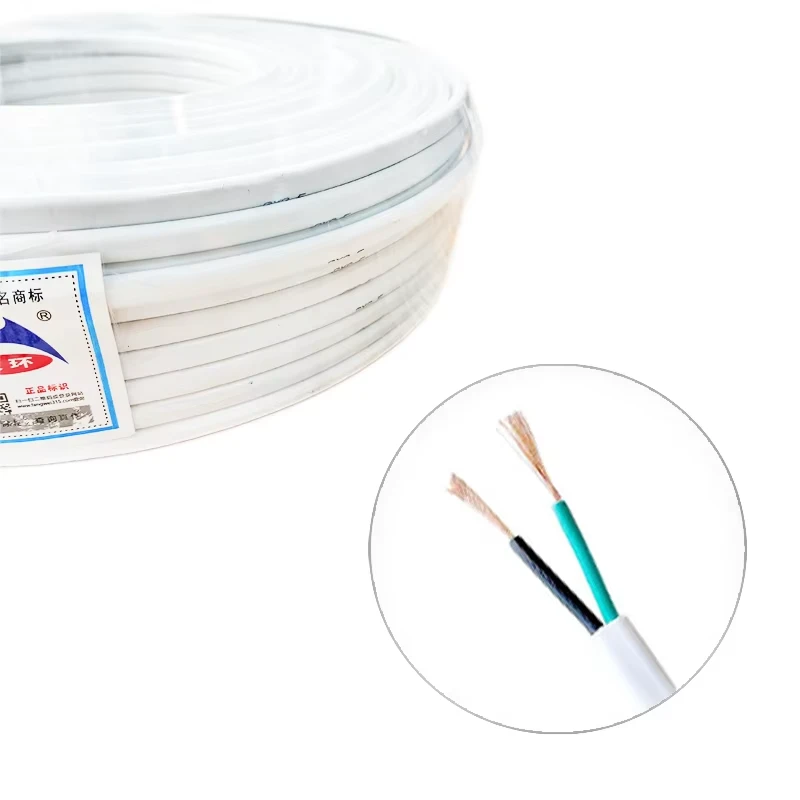
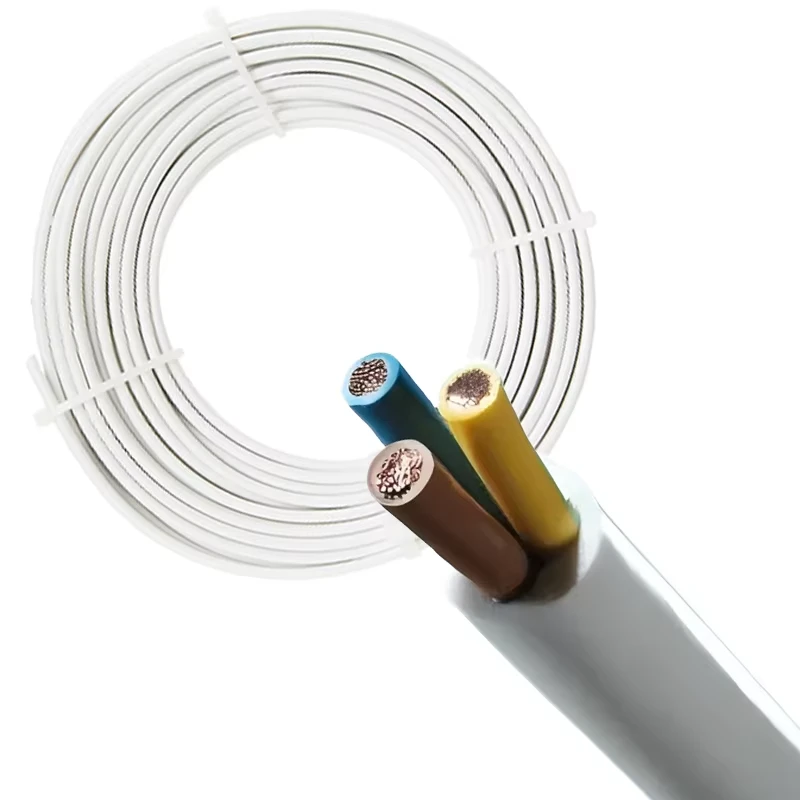
Once you have a plan in place, it's time to gather the necessary materials. Start with electrical wire; for outdoor sheds, it is typically best to use Direct Burial Rated cable (UF cable) or conduit, especially if the wiring will be exposed to moisture or underground. The gauge of the wire will depend on the load you expect to carry. For most sheds, 12-gauge wire is adequate for general use, but you might opt for 10-gauge wire if you're planning to power heavy equipment.
In addition to wiring, you will need circuit breakers, outlets, and light fixtures. Be sure to choose weather-resistant components, as outdoor conditions can be harsher than indoor environments. Don’t forget tools such as wire cutters, a drill, and a voltage tester to help with the installation.
Installation Process
Before beginning the installation, ensure you are compliant with local codes and regulations. In many areas, you will need a permit for electrical work, particularly if you're connecting to the main power grid. Always consult with a professional if you're unsure about the regulations in your area.
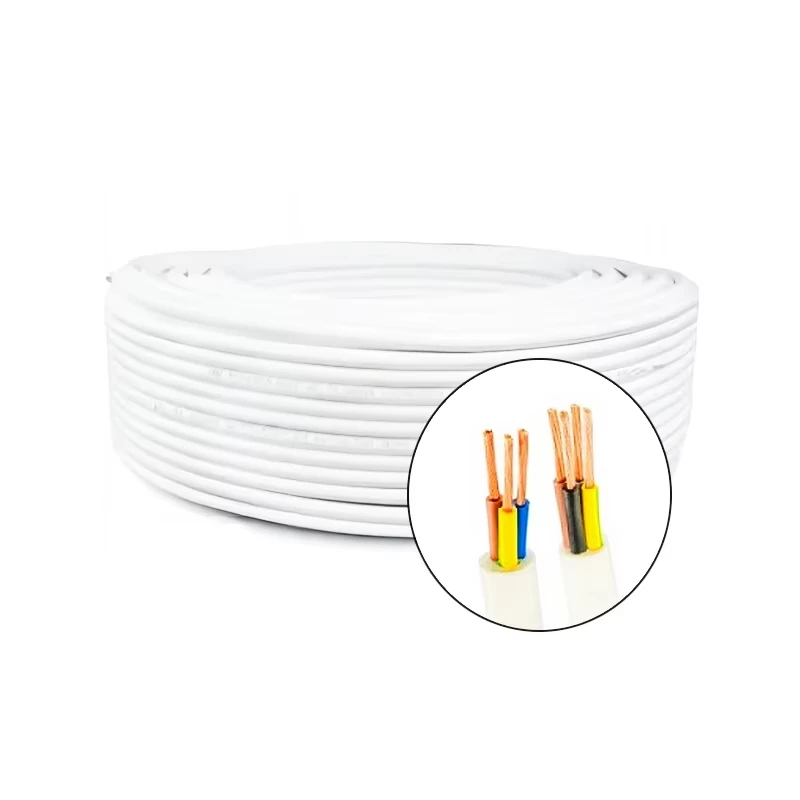
electrical wiring for outdoor shed product

1. Run the Power Source If your shed does not have electricity, you will need to bring power from your home. This usually involves running an underground cable from your house to the shed. Dig a trench approximately 18 inches deep for the cable. 2. Install the Subpanel If you're expecting heavy usage, it may be wise to install a subpanel inside the shed to handle multiple circuits. Make sure to mount it securely on a wall and connect it to your main power source carefully.
3. Wiring the Shed Use your blueprint as a guide to run wires from the subpanel to each outlet and light fixture. Make sure to secure the wiring properly and avoid sharp edges that could wear down the insulation.
4. Connect Outlets and Switches Follow electrical codes for properly wiring the outlets and switches. Typically, whites go to the silver terminal and blacks to the brass terminal. Ground wires must be connected to the grounding screw.
5. Install Fixtures Lastly, install your light fixtures and ensure they are rated for outdoor use. Check that all connections are tight and insulated to prevent short circuits.
Safety Considerations
Safety should be your top priority when working with electrical systems. Always disconnect power before working on any wiring. Use a multimeter to verify that circuits are de-energized. Make sure that all work conforms to local building codes, and don’t hesitate to hire a licensed electrician if you’re not confident in your abilities.
It’s also wise to install Ground Fault Circuit Interrupter (GFCI) outlets in your outdoor shed. GFCI outlets help prevent electrical shock by shutting off power when they detect a ground fault.
Conclusion
Electrical wiring for outdoor sheds can seem daunting, but with careful planning and adherence to safety codes, it can be a manageable project. By effectively meeting your electrical needs, you can create a functional and versatile space that enhances your outdoor experience. Remember, if in doubt, don’t hesitate to seek the assistance of a professional. Happy wiring!
-
The Quantum Leap of XLPE Cable in Power DistributionNewsMay.29,2025
-
Mastering the Essentials of Building WireNewsMay.29,2025
-
Innovative Horizons of Rubber Trailing CablesNewsMay.29,2025
-
Exploring the Versatile World of Rubber CablesNewsMay.29,2025
-
Decoding the Mysteries of Building CablesNewsMay.29,2025
-
Advancements Redefining Control Cable TechnologyNewsMay.29,2025
-
Why It's Time to Replace Old Rubber CablesNewsMay.28,2025


