How to Properly Connect Armoured Cable to a Socket for Best Performance
Best Practices for Wiring Armoured Cable to a Socket
When it comes to electrical installations, safety and reliability are paramount. One of the best methods to ensure these attributes is by using armoured cable for powering sockets. Armoured cables are designed with an additional layer of protection, making them ideal for use in environments where the wiring might be subjected to mechanical damage or harsh conditions. This article will glance at the best practices for wiring armoured cable to a socket, ensuring a safe and effective electrical connection.
Understanding Armoured Cable
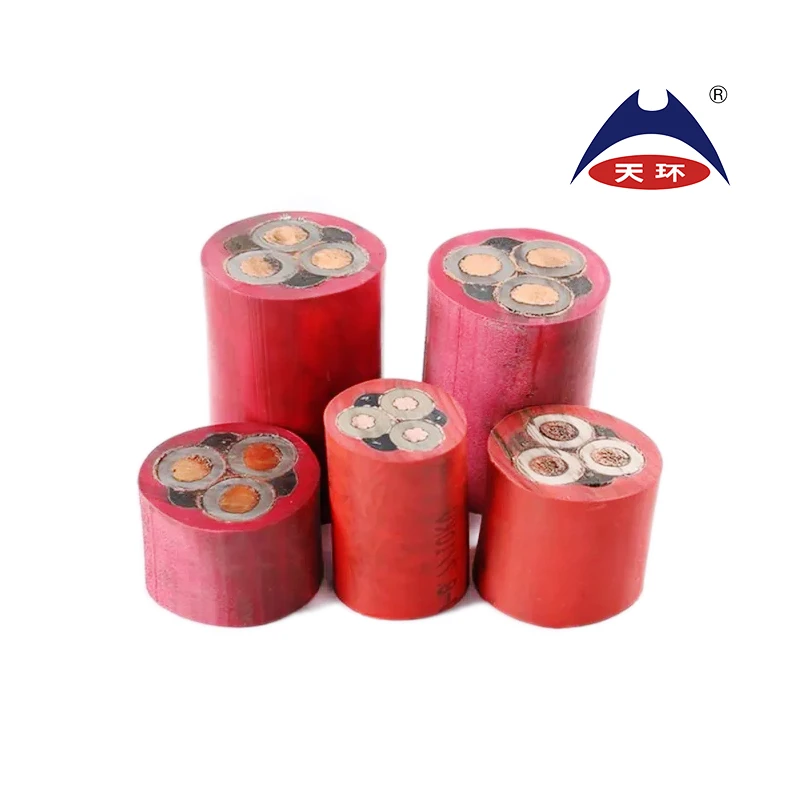
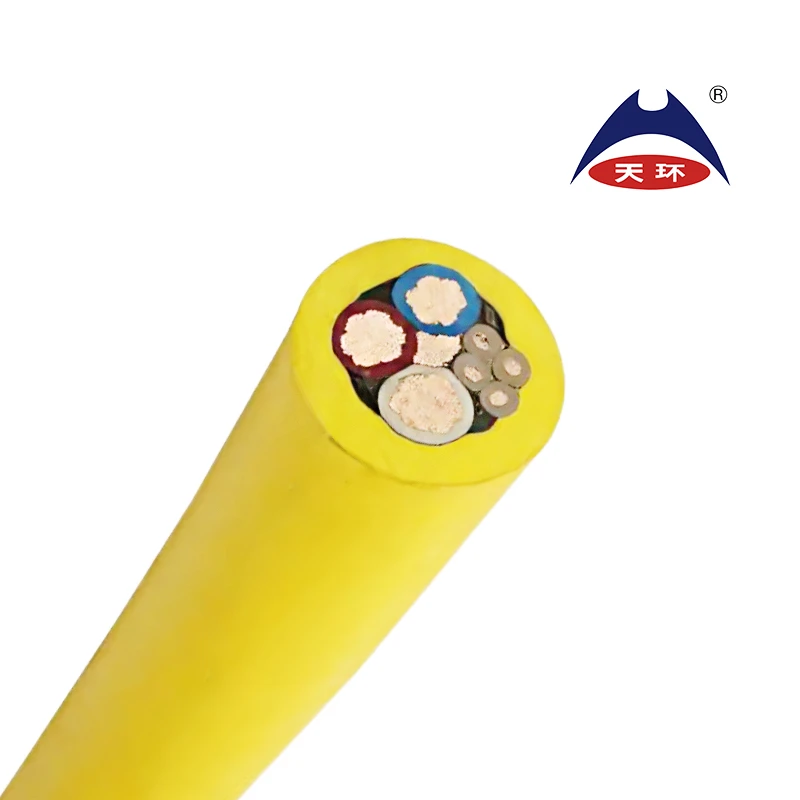
Armoured cable generally consists of a conductor insulated by layers of protective material, including a metal sheath. The most common types of armoured cable are SWA (Steel Wire Armoured) and AWA (Aluminium Wire Armoured) cables. These cables are widely used in industrial, commercial, and residential applications where added strength and durability are necessary.
Tools and Materials Needed
Before you begin the installation, ensure you have the following tools and materials
1. Armoured Cable Choose the right size for your application based on the load requirements. 2. Socket Outlet Ensure it is suited for the type of armoured cable you are using. 3. Cable Gland Helps secure the cable and provides strain relief. 4. Wire Strippers and Cutters For preparing the cable ends. 5. Screwdriver For fastening the socket. 6. Multimeter To test electrical connections. 7. Safety Gear Gloves and goggles to ensure personal safety during installation.
Wiring Process
best wiring armoured cable to a socket

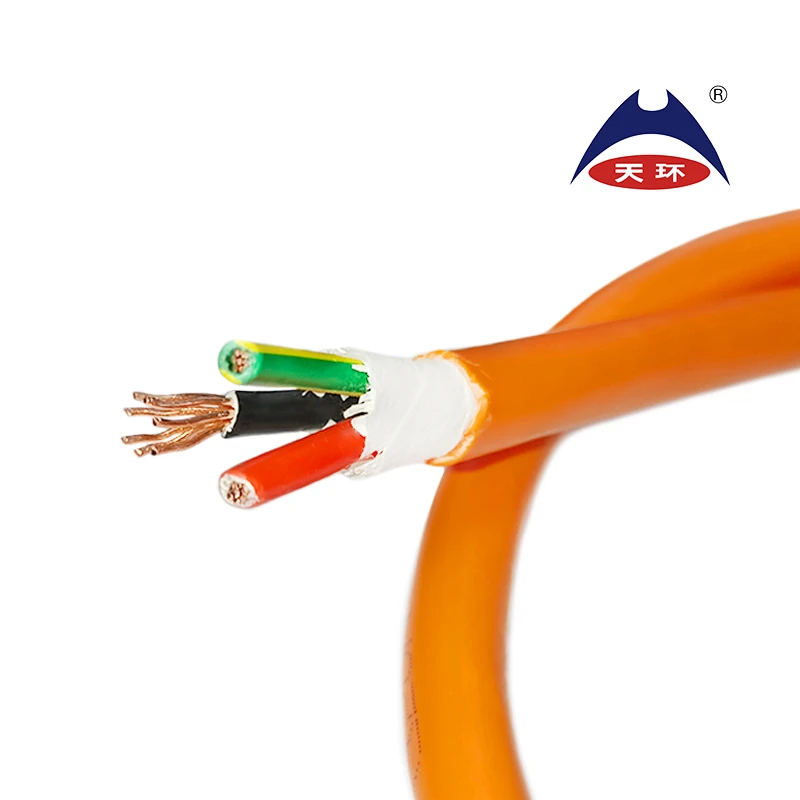
2. Prepare the Armoured Cable Use wire strippers to remove the outer sheath of the armoured cable, exposing the insulation of the inner conductors. Be careful not to damage the copper or aluminium wires inside. If the cable is SWA, use appropriate tools to remove the steel armouring.
3. Attach the Cable Gland Insert the prepared cable into the cable gland. The gland will secure the cable and provide a seal ensuring that external elements do not enter.
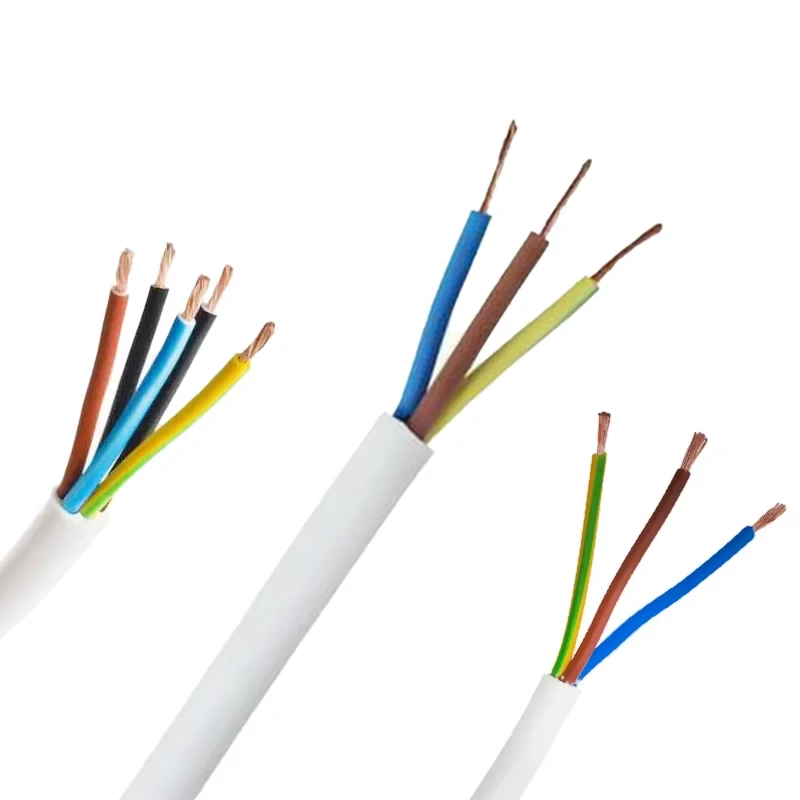
4. Connect to the Socket Strip the ends of the inner conductors to expose about 10-15mm of copper. Connect them to the appropriate terminals on the socket outlet - Live (Brown) Connect to the terminal marked L. - Neutral (Blue) Connect to the terminal marked N. - Earth (Green/Yellow) Connect to the earthing terminal. This is crucial for safety and preventing electric shock.
5. Secure and Insulate Once all connections are made, double-check the tightness of the connections, and then secure the socket back into its mounting. Ensure that any exposed conductors are insulated to prevent accidental contact.
6. Test the Connection Before turning the power back on, use a multimeter to verify that there are no shorts and that the connections are correct. After ensuring everything is in order, restore power and test the socket to ensure it functions correctly.
Safety Considerations
Safety should be your highest priority during installation. Always work in dry conditions to avoid electric shock. Make sure to follow local electrical codes and standards for your specific situation. If unsure about any part of the installation process, consult a qualified electrician.
Conclusion
Wiring an armoured cable to a socket can seem daunting, but by following these best practices, you can ensure a safe and effective installation that meets your electrical needs. Remember, taking the time to double-check your work and adhering to safety standards will pay off in the long run, providing a reliable and secure power source for your devices.
-
Reliable LIYCY Cable Solutions for Low and Medium Voltage ApplicationsNewsJul.14,2025
-
Premium Overhead Electrical Wire Solutions for Low and Medium Voltage ApplicationsNewsJul.14,2025
-
Innovative XLPE Electrical Cable Solutions for Modern Low and Medium Voltage NetworksNewsJul.14,2025
-
High-Quality Ethylene Propylene Rubber Cable – Durable EPDM Cable & 1.5 mm 3 Core OptionsNewsJul.14,2025
-
Exploring the Versatility of H1Z2Z2-K 1X4mm2 Cables in Modern ApplicationsNewsJul.14,2025
-
Uses of Construction WiresNewsJul.14,2025
-
Types of Neoprene CableNewsJul.14,2025


