


fitting armoured cable to consumer unit quotes
Fitting Armoured Cable to Consumer Unit A Comprehensive Guide
When it comes to electrical installations, safety and reliability are paramount. One critical component that ensures both these aspects is the armoured cable. Particularly when connecting to a consumer unit, understanding the intricacies of fitting armoured cable is essential for any electrician or DIY enthusiast.
What is Armoured Cable?
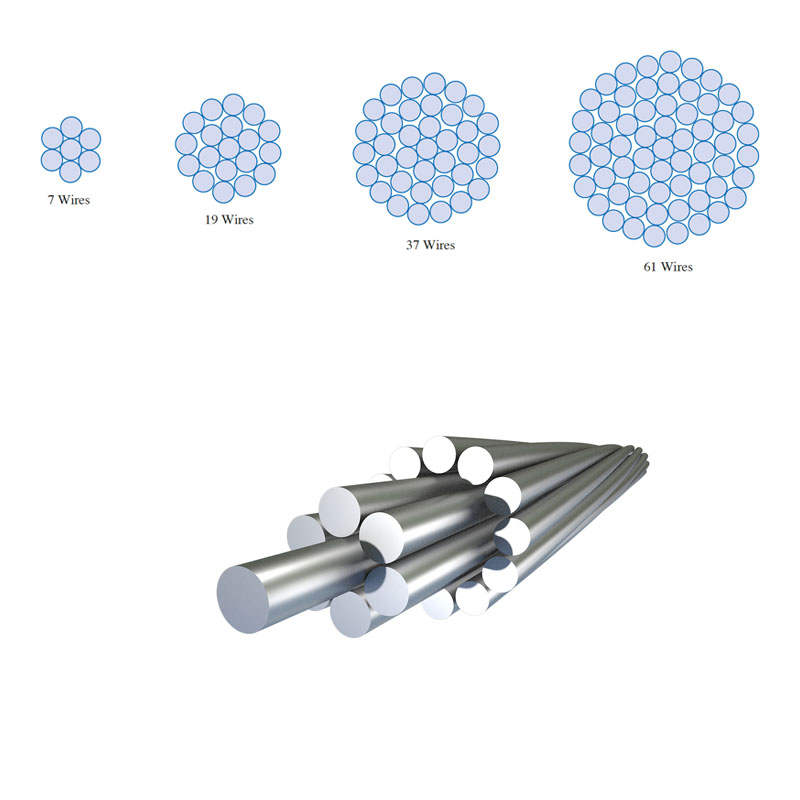
Armoured cable, typically consisting of a core of conductors surrounded by a protective layer, is designed to withstand tough conditions. The armouring, often made from steel or aluminum, provides enhanced protection against physical damage, moisture, and mechanical stress. This makes armoured cable an ideal choice for outdoor installations, direct burial in the ground, or areas where the risk of impact is high.
Choosing the Right Type of Armoured Cable
Before you begin the installation, it's crucial to select the appropriate type of armoured cable based on the specific requirements of your project. The most common types include
1. Steel Wired Armoured (SWA) - Commonly used for underground or external installations. 2. Aluminium Wired Armoured (AWA) - Lighter than SWA, suitable for overhead applications. 3. Flexible Armoured Cable - Ideal for applications that require flexibility along with protection.
Always ensure the chosen cable meets the local electrical standards and is rated for the voltage and current required.
Preparation for Installation
fitting armoured cable to consumer unit quotes
1. Tools and Materials You will need essential tools such as cable cutters, a cable stripping tool, a torque wrench, and appropriate fittings for the consumer unit. Additionally, ensure you have a well-insulated junction box if necessary. 2. Safety First Before starting, turn off the power at the main supply to avoid any electrical hazards. Use appropriate personal protective equipment (PPE) like gloves and safety goggles.
3. Planning the Route Plan the cable route to minimize risk of damage, avoid any obstructions, and ensure cable management is tidy.
Fitting the Armoured Cable
1. Preparing the Cable Cut the armoured cable to the desired length with a cable cutter. Strip back the outer sheath carefully, exposing the inner cores without damaging them. Typically, armoured cables have a series of conductors, often including a green/yellow core for earth.
2. Using Cable Glands Install a cable gland at the consumer unit connection point. The gland provides strain relief and protects the cable from moisture ingress. Ensure you select glands suitable for the armoured cable size and type.
3. Connecting to Consumer Unit Insert the stripped cores into the appropriate terminals on the consumer unit. Ensure that each core is connected to the right terminal—live (brown or red), neutral (blue or black), and earth (green/yellow). Secure connections using a torque wrench to prevent loosening over time.
4. Sealing and Testing After making the connections, ensure the cable gland is tightened to maintain the integrity of the seal. Once everything is in place, restoring power, and conducting an insulation resistance test is critical to ensure safety and functionality.
Conclusion
Fitting armoured cable to a consumer unit may seem daunting, but with the correct approach, it can be a straightforward task. This guide provides an overview of the necessary steps, ensuring that safety and compliance with electrical standards are upheld. Always remember, if you're unsure or inexperienced, consulting with a professional electrician is advisable. Safety should always come first in electrical installations.
-
Key Considerations When Sourcing Electrical Wires and Cables: A Wholesaler’s GuideNewsMay.13,2025
-
Ensuring Safety and Performance: Key Considerations for Rubber Cable ApplicationsNewsMay.13,2025
-
Premium Control Cable Solutions: Elevate Your Projects with Tianhuan Cable GroupNewsMay.13,2025
-
Powering Solar Innovation: Tianhuan’s Photovoltaic Cable Solutions for Wholesale ExcellenceNewsMay.13,2025
-
High-Quality Building WireNewsMay.13,2025
-
Superior Aerial Cable Solutions: Partner with Tianhuan Cable GroupNewsMay.13,2025
-
XLPE Cables: The Heat-Resistant Solution for Summer BBQ SafetyNewsMar.05,2025


-
 +86 311 66160316