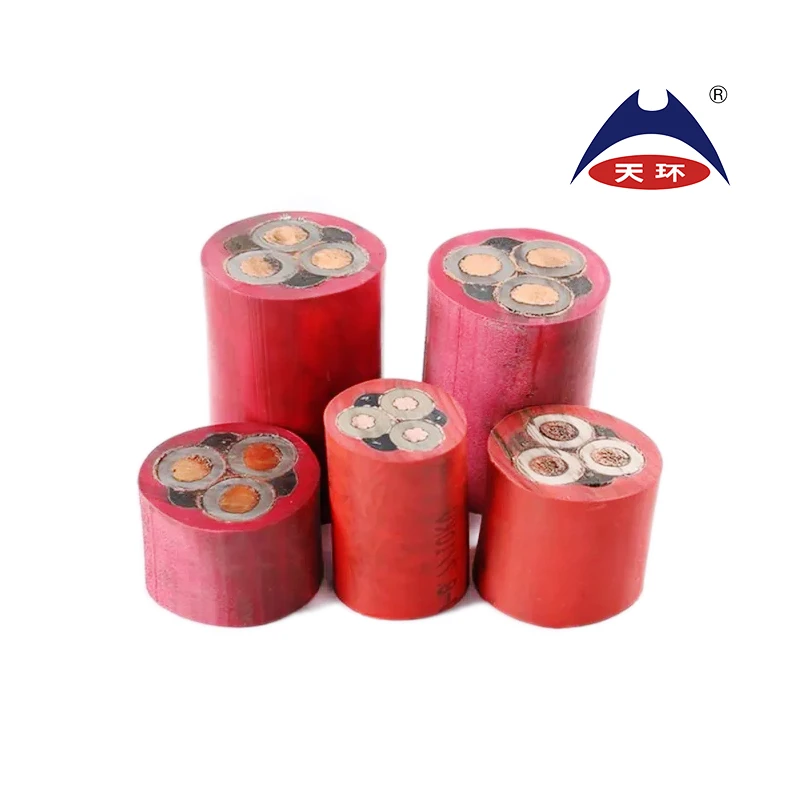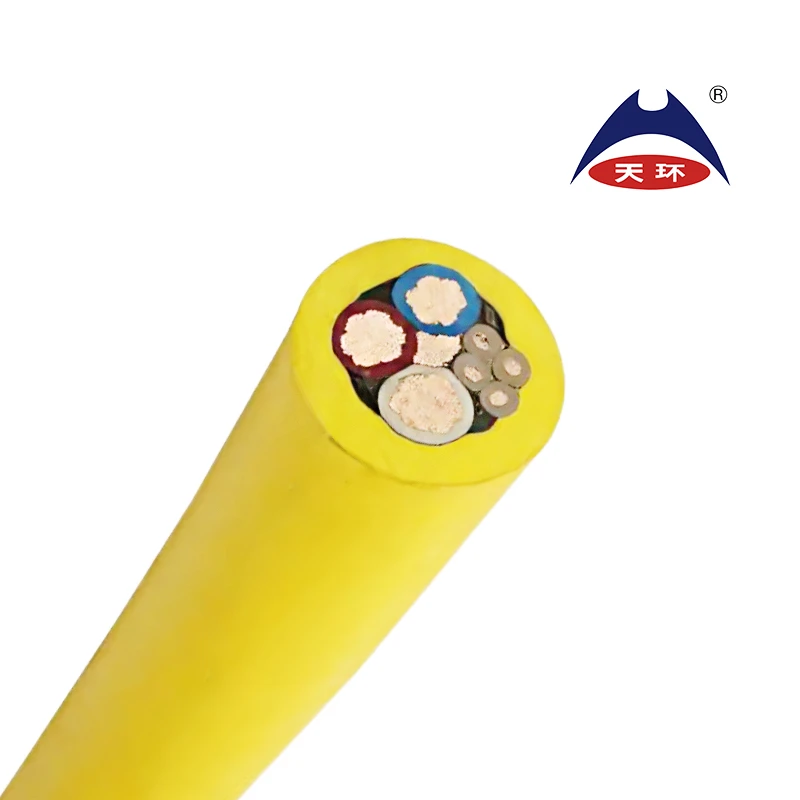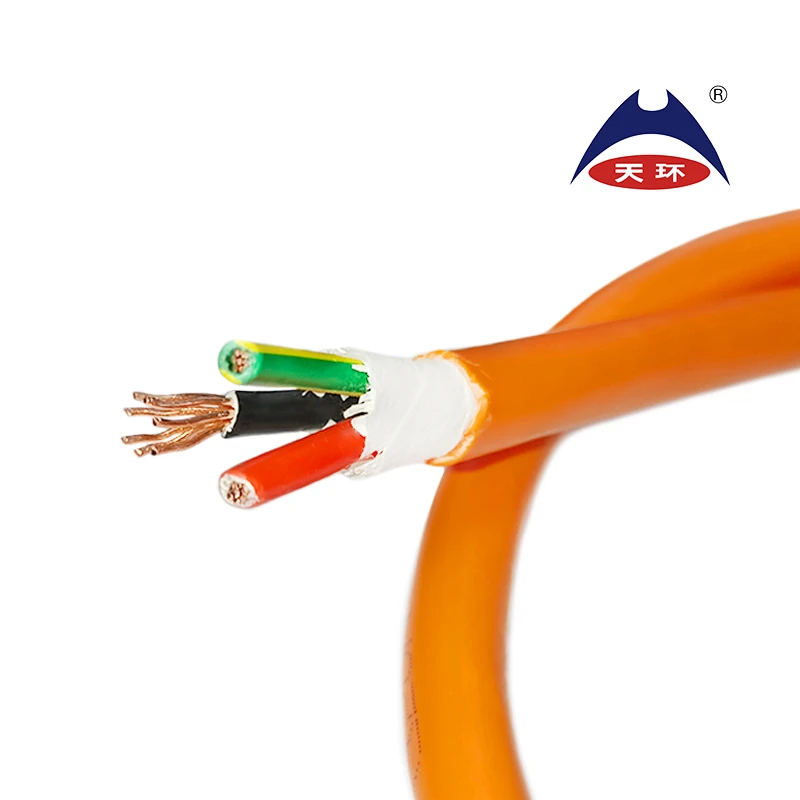
connecting armoured cable to socket products
Connecting Armoured Cable to a Socket A Comprehensive Guide
When it comes to electrical installations, one of the most critical aspects is ensuring a safe and reliable connection between various components. One of the common configurations involves connecting armoured cable to a socket. Armoured cables are designed for outdoor use or in environments where mechanical protection is required. This article will discuss the steps and considerations for safely connecting armoured cable to a socket.
Understanding Armoured Cables
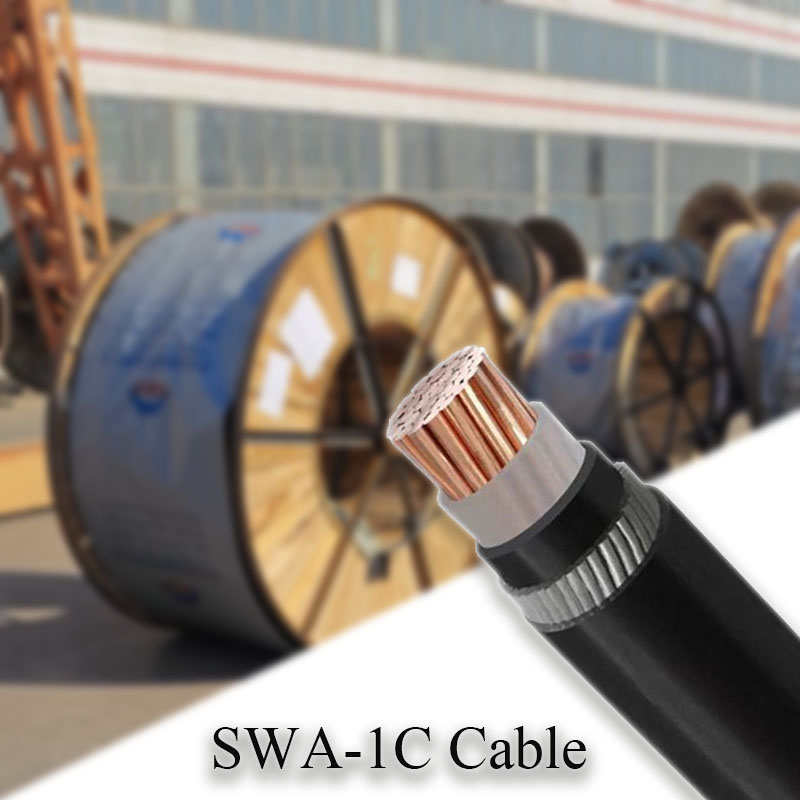
Armoured cables consist of multiple conductors enclosed in a layer of protection, usually made of steel or aluminium. This protective layer provides excellent resistance to external mechanical damage, making them ideal for environments that may experience high levels of wear and tear. The cable typically contains a layer of insulation to prevent electrical leakage, along with an outer sheath for additional protection against moisture and chemicals.
Tools and Materials Needed
Before starting the installation, it’s essential to gather the right tools and materials. Here’s a list of what you’ll need
1. Armoured Cable Ensure that the cable is suitable for your application (e.g., weather-resistant if installed outdoors). 2. Electrical Socket Choose a socket rated for the load you intend to connect. 3. Cable Glands These allow for secure entry of the armoured cable into the socket or junction box. 4. Wire Strippers To remove insulation from the conductors. 5. Screwdrivers and Wrenches For securing the socket and connections. 6. Multimeter To check for continuity and to ensure that the installation is safe. 7. Safety Gear Electrical gloves and goggles for personal protection.
Step-by-Step Guide
1. Preparation of the Armoured Cable Start by measuring the required length of the armoured cable and cutting it accordingly. Be careful not to damage the internal conductors. Once cut, strip off the outer sheath and the individual conductor insulation to expose the copper wires. Ideally, you should follow the specifications in the cable's manual to avoid any mistakes.
connecting armoured cable to socket products
2. Installing the Cable Gland Select the appropriate cable gland size for your armoured cable. The gland should provide a tight seal to protect against dust and moisture. Insert the cut end of the cable into the gland and tighten it securely. This step is crucial as it prevents movement and potential damage to the cable.
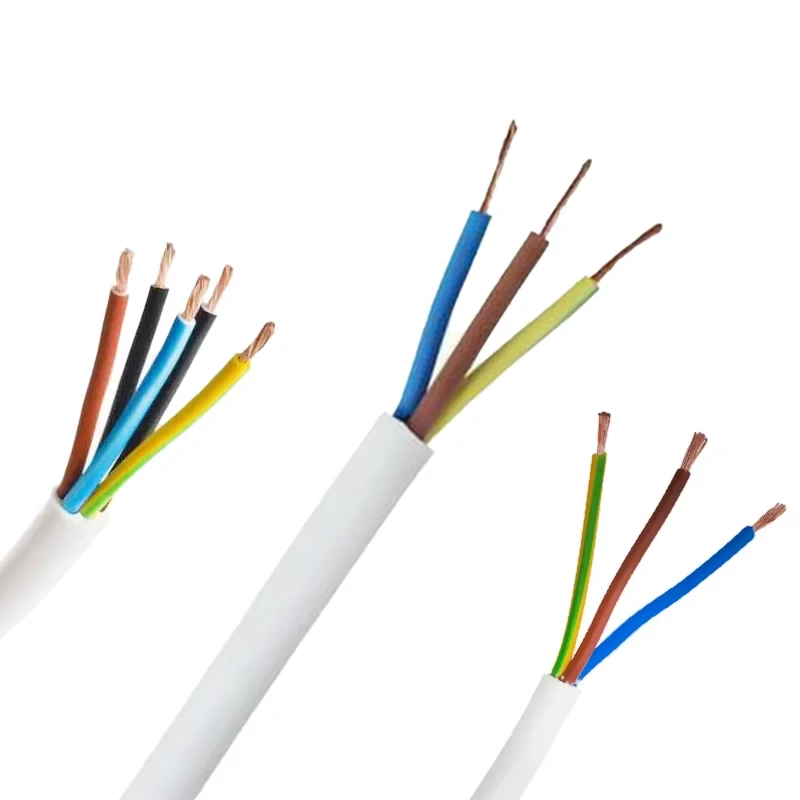
3. Connecting to the Socket Open the socket and prepare it for wiring. Carefully connect the conductors from the armoured cable to the corresponding terminals in the socket. Typically, you will have live (brown or red), neutral (blue or black), and earth (green or yellow). Make sure that the connections are tight and that there are no exposed wire ends.
4. Securing Everything After connecting the wires, secure the socket cover. Ensure that the cable is firmly attached and there are no loose parts. This will help avoid any potential electrical hazards due to movement or vibration.
5. Testing the Installation Before turning on the power, use a multimeter to check for continuity. Verify that there are no short circuits and that the connections are correct. Ensure that the earth connection is properly made, as this is vital for safety.
6. Power Up Once everything is secure, reapply power to the circuit. Observe any unusual signals or abnormalities, such as sparks or odors. If everything appears normal, congratulations! You’ve successfully connected an armoured cable to a socket.
Safety Considerations
Working with electrical installations can be hazardous. Always turn off the power supply before beginning any work, and consider consulting with or hiring a qualified electrician if you are unsure about any part of the process. Always adhere to local electrical codes and regulations to ensure a safe installation.
Conclusion
Connecting armoured cable to a socket can seem daunting, but with the right tools and knowledge, it can be accomplished safely and effectively. By following the steps outlined in this guide, you can ensure a secure and reliable connection that will withstand the test of time, providing safety and functionality in your electrical system. Remember, the key to any electrical project is safety; never compromise on that.
-
The Quantum Leap of XLPE Cable in Power DistributionNewsMay.29,2025
-
Mastering the Essentials of Building WireNewsMay.29,2025
-
Innovative Horizons of Rubber Trailing CablesNewsMay.29,2025
-
Exploring the Versatile World of Rubber CablesNewsMay.29,2025
-
Decoding the Mysteries of Building CablesNewsMay.29,2025
-
Advancements Redefining Control Cable TechnologyNewsMay.29,2025
-
Why It's Time to Replace Old Rubber CablesNewsMay.28,2025


